
Seasoning for Chicken Breast in Oven: The Ultimate Guide
You've seasoned the chicken, set the oven, and planned a quick weeknight dinner. Then you slice into the breast and find a familiar result: the outside is heavily coloured, the centre is dry, and the flavour disappears somewhere between the roasting tray and the plate. Good seasoning for chicken breast in oven cooking should do more than make the surface smell appealing. It should support even flavour, browning, and a cooking method that lets you verify the centre confidently.
The reliable approach is simple: dry the meat, season it evenly, choose a blend that suits a short roast, and use a thermometer rather than judging doneness by colour alone. That routine gives you much more control than adding more spice after the chicken has already dried out.
Why Your Oven Chicken Often Turns Out Dry
A weeknight tray can look ready while the chicken inside has already gone too far. Chicken breast dries out because it is lean and gives you little room for excess heat or time. Uneven seasoning can make the problem worse, leaving some areas lightly coated while others carry too much salt or spice. The thick end then becomes firm and fibrous, while the thinner edge loses moisture first.
Consider two breasts brushed with oil, covered with rub, and placed straight into the oven. One is broad and thin; the other is thick at one end. The thinner breast finishes sooner, but both remain in the oven until the thicker piece appears ready. By then, the first breast is dry.
Seasoning is part of the cooking method
Oil helps a dry rub cling to the surface and supports more even browning. Salt can also form part of a dry-brining method, giving the meat time to absorb seasoning more evenly and hold onto moisture during cooking. The surface must still be dry before oil and spices are added. Excess moisture encourages steaming rather than roasting.
Practical rule: A seasoning blend can improve flavour and surface browning, but it cannot rescue chicken left in the oven beyond doneness.
Food safety affects how you judge the finished breast. UK guidance warns that poultry may carry bacteria throughout the meat, not only on the surface. The Food Standards Agency's cooking guidance advises that chicken should be steaming hot throughout, with no pink meat, and recommends checking the centre with a clean thermometer.
Dark rubs make visual checks less reliable. Paprika, chilli, and smoked spices can colour the surface before the meat is fully cooked, while their browned coating can also make an overcooked breast look deceptively finished. Check the thickest part rather than relying on the shade of the crust or the colour of the juices.

Aim for a repeatable routine: use a rub suited to a short roast, keep the pieces reasonably even in thickness, and let a thermometer decide when the chicken comes out. Seasoning sets up the flavour, but accurate doneness checks protect the texture.
Preparing the Chicken and Applying Seasoning
Good oven chicken starts before the oven reaches temperature. Follow these steps in order.
1. Even out the thickness
Place the breast on a clean board and cover it with baking paper or cling film if you're going to flatten it. Gently pound the thickest area with a rolling pin or meat mallet until the breast has a more even shape. You don't need to make it thin. The aim is to prevent one end from finishing long before the other.
If the breasts are already similar in size and shape, leave them intact. Consistency matters more than aggressive flattening.
2. Dry the surface
Pat every side thoroughly with kitchen paper. A damp surface dilutes the rub, makes it harder for seasoning to cling, and encourages steaming in the tray. Drying also gives oil and spices a better chance to form an even coating.
3. Add a light binder
Use a small amount of olive oil or neutral oil and rub it over the chicken. You want a thin, glossy coating, not a pool of oil around the breast. Too much oil can leave the seasoning sliding off and can make the finished dish feel greasy.
4. Apply the blend evenly
Sprinkle the seasoning over all sides, including the edges. Press it gently into the meat rather than rubbing aggressively, especially if the blend contains larger herbs or coarse particles. The thickest section deserves the same coverage as the broad top surface.
If you've dry-brined the chicken, reduce or skip additional salt according to how much salt the rub contains. A dry brine and a salty seasoning blend can easily push the final flavour from savoury to harsh.
5. Arrange for roasting
Place the breasts in a single layer with space around them. Crowding traps moisture, while a little separation helps hot air reach the sides. Put the tray into a fully heated oven, then start checking the thickest breast before the longest expected cooking time has passed.
The technique is demonstrated in this oven chicken seasoning guide, where the same principle applies whether you're using a simple salt-and-pepper combination or a more assertive rub.
Choosing the Best Rubs for Different Flavours
Chicken breast has a mild flavour, so it works well with both restrained savoury blends and bold global profiles. The right choice depends on what you're serving beside it. A bright rub suits salad, flatbreads, and rice, while smoky or chilli-led seasoning works better with roasted potatoes, slaw, or grilled vegetables.
The following options give you distinct outcomes without requiring a long list of pantry ingredients.
| Rub Name | Flavour Profile | Best Paired With |
|---|---|---|
| Chipotle Cowboy Chicken Rub | Smoky, earthy, and gently hot | Roasted corn, wedges, beans, or a smoky traybake |
| Greek Odyssey Gyros Rub | Herbaceous, savoury, and Mediterranean-inspired | Pitta, yoghurt, cucumber, tomato, and roasted potatoes |
| Miami Mojo Citrus Blend | Bright citrus character with savoury seasoning | Rice bowls, green salad, peppers, and avocado |
| Holy Jalapeño Fajita Seasoning | Peppery heat with a fajita-style savoury edge | Peppers, onions, wraps, and melted cheese |
| SPG Salt Pepper Garlic Base Blend | Clean, familiar salt, pepper, and garlic | Any weeknight plate where the chicken needs to stay versatile |
How I'd choose for dinner
For a family meal with mixed preferences, the SPG blend is the safest starting point because it supports gravy, salad dressing, wraps, and pan juices without pushing the dish in one direction. For a stronger identity, Greek Odyssey turns the breast into the centre of a Mediterranean-style plate, while Miami Mojo gives leftovers a lift in a cold salad or lunchtime wrap.
Chipotle Cowboy is the more assertive choice. Use it when you want the seasoning to carry the meal, but balance the plate with something cooling or fresh. Holy Jalapeño suits fajita-style serving, where onions and peppers soften the heat and add sweetness.
A good rub doesn't need to form a thick crust to taste generous. Apply enough for an even coat, then let the chicken's surface and the oven's heat do the work. Blends made with plant-based ingredients and without filler-heavy bulk are especially useful here, because you can build flavour without relying on a heavy sauce.
Oven Temperature and Cooking Times
A thin chicken breast can brown beautifully while the centre remains undercooked. A thick breast can reach a safe temperature while its surface dries out. Oven temperature, breast size, and the colour of the rub all affect how you judge the result.
A moderate oven around 190°C provides a steadier roast and suits larger or thicker breasts. A hotter oven around 220°C shortens the cooking window and encourages stronger browning, but small or unevenly shaped breasts have less margin for error.
UK recipe guidance puts boneless chicken breasts in an approximate 16 to 30-minute cooking range, depending on size and thickness, as outlined in the Food Standards Agency cooking information. BBC Food gives 16 to 22 minutes for 150g to 300g skinless, boneless breasts at 220°C, 200°C fan, or Gas 7. Sainsbury's gives 35 minutes at 190°C, 170°C fan, or Gas 5 for a larger 640g pack, with turning or basting during cooking. These timings differ because the shape and total size of the meat change how quickly heat reaches the centre.
Choose the setting by the cut
Use the cut as your starting point:
- For small, thin breasts, choose the hotter oven and start checking early. Dark spices can brown before the chicken is cooked, so the crust is not a reliable timer.
- For thick or larger breasts, a lower setting gives the centre more time to heat before the seasoning scorches. Leave space between the pieces so hot air can circulate.
- For mixed-size pieces, remove the smallest breast when it reaches the safe internal temperature. Return the thicker piece to the oven if it needs more time.
Check the centre, not the crust
Insert a clean food thermometer into the thickest part of the largest breast. Approach from the side when that gives the probe a better position. UK government business guidance uses a core target of 70°C for 2 minutes, while 75°C is a common finished-temperature benchmark in UK chicken cooking guidance. The chicken should be steaming hot throughout with no pink meat, but a thermometer gives a more dependable answer when a dark rub has hidden visual signs of doneness.
Follow this guide to using a meat thermometer if probe placement is unclear. Wipe and clean the thermometer between checks, particularly when moving from raw chicken to cooked food.
As noted in the FSA guidance above, judge safety by the centre rather than the colour of the seasoning. Once the chicken reaches the safe target, remove it from the oven instead of cooking longer just because the rub looks dark or the edges have browned.
Pro Tips for Juicy, Flavourful Results
A few finishing choices decide whether oven chicken tastes freshly cooked or merely seasoned. Once the breasts come out, place them on a clean plate or board and leave them undisturbed before slicing. Resting keeps the juices from running straight onto the surface beneath the chicken.
Dark spice rubs can make the crust look finished before the centre is safe to eat. Treat colour as a guide, not proof of doneness, and rely on the internal-temperature check from the previous section. This matters especially with paprika, chilli, or other strongly coloured blends.
Aromatics add depth without competing with the rub. Arrange sliced onion, crushed garlic, or lemon slices around the chicken, rather than piling them over the top. They perfume the tray and can be stirred into the cooking juices for a simple spoon-over finish. Keep them beside the meat so the underside can still roast instead of steaming under a thick layer.
Improve the surface
A wire rack over a baking sheet allows hot air to circulate beneath each breast. It limits contact with moisture from oil or vegetables releasing steam, helping the underside brown more evenly. Without a rack, leave space around the pieces and turn them only when the recipe or tray setup requires it.
Dry-brining can improve seasoning beyond the surface when you have preparation time. The dry chicken brine method at Smokey Rebel describes either a 4 to 6% salt solution for 1 to 4 hours or a dry brine of about 1 teaspoon of kosher salt per pound for 12 to 24 hours. Dry the chicken before adding herbs, spices, and oil. The trade-off is moisture: over-brining, or skipping that drying step, can leave the surface wet and weaken browning. The marinade science reference also provides context for this approach.
Let the seasoning provide the identity, then let the tray ingredients support it. Too many competing flavours make chicken taste busy rather than well seasoned.
For a simple oven dinner, spoon over the rested chicken's tray juices, then add sliced citrus or fresh herbs. These finishes bring contrast without covering the rub with a heavy sauce.
Common Mistakes to Avoid When Seasoning Chicken
A heavy rub can make chicken taste salty, bitter, or burnt, especially when it contains chilli, paprika, or smoked spices. Use enough seasoning to cover the surface without forming a thick paste. A very light coating creates the opposite problem: a flavoured crust with bland meat beneath it. Spread the rub evenly over the top, underside, and edges.
Temperature matters before the chicken enters the oven. An uneven breast cooks unevenly, so flatten the thick end when necessary. Keep raw chicken covered while the oven heats, pat it dry, and season it during that short preparation period. Avoid leaving it at room temperature longer than needed.
Troubleshooting the finished breast
- Dry edges, underdone centre: The breast was probably uneven in thickness. Flatten the thick end next time and start checking the centre earlier.
- Dark outside, uncertain centre: Paprika and chilli can hide the usual colour changes. Avoid cutting the chicken repeatedly. Use a clean thermometer in the thickest part.
- Wet seasoning: Moisture on the surface or a crowded tray can stop the rub from browning. Pat the meat dry and leave space between pieces.
- Salty flavour: Brining followed by a salt-heavy rub can push the seasoning too far. Choose one main salting method and reduce the salt in the other.
A dark spice crust makes doneness harder to judge, which is why food safety and seasoning need to be considered together. Chicken should be steaming hot throughout with no pink meat, as outlined in the UK government cooking guidance. Colour alone is unreliable under a dark rub. Confirm the thickest part with a clean thermometer before serving.
FAQs
What is the simplest seasoning for chicken breast in the oven?
Use oil, salt, pepper, and garlic, or a savoury blend such as SPG. Pat the breast dry, coat it lightly with oil, season every side, and check the thickest part with a thermometer.
Should I oil chicken before adding a rub?
Yes. A light coating helps the seasoning stick and supports browning. Excess oil can make the surface greasy and cause the rub to slide off.
Can I use a dark chilli rub on oven chicken?
Yes, but judge doneness by temperature rather than crust colour. Dark spices can make the outside look ready while the centre still needs more cooking.
Why does my seasoned chicken breast taste bland?
The rub may have missed the edges, or moisture released during cooking may have diluted the surface. Dry the meat thoroughly and season it evenly. Dry-brining can help when you have time to plan ahead.
Smokey Rebel offers small-batch, plant-based rubs and seasoning blends for oven cooking, traybakes, and barbecue, including Chipotle Cowboy and Greek Odyssey. Visit Smokey Rebel to choose a flavour for your next chicken dinner or build a bundle around how your household cooks.
Join our Mailing List
Sign up and get Smokey Rebel Recipes + weekly recipes straight to your inbox!
Recent articles
Seasoning for Chicken Breast in Oven: The Ultimate Guide
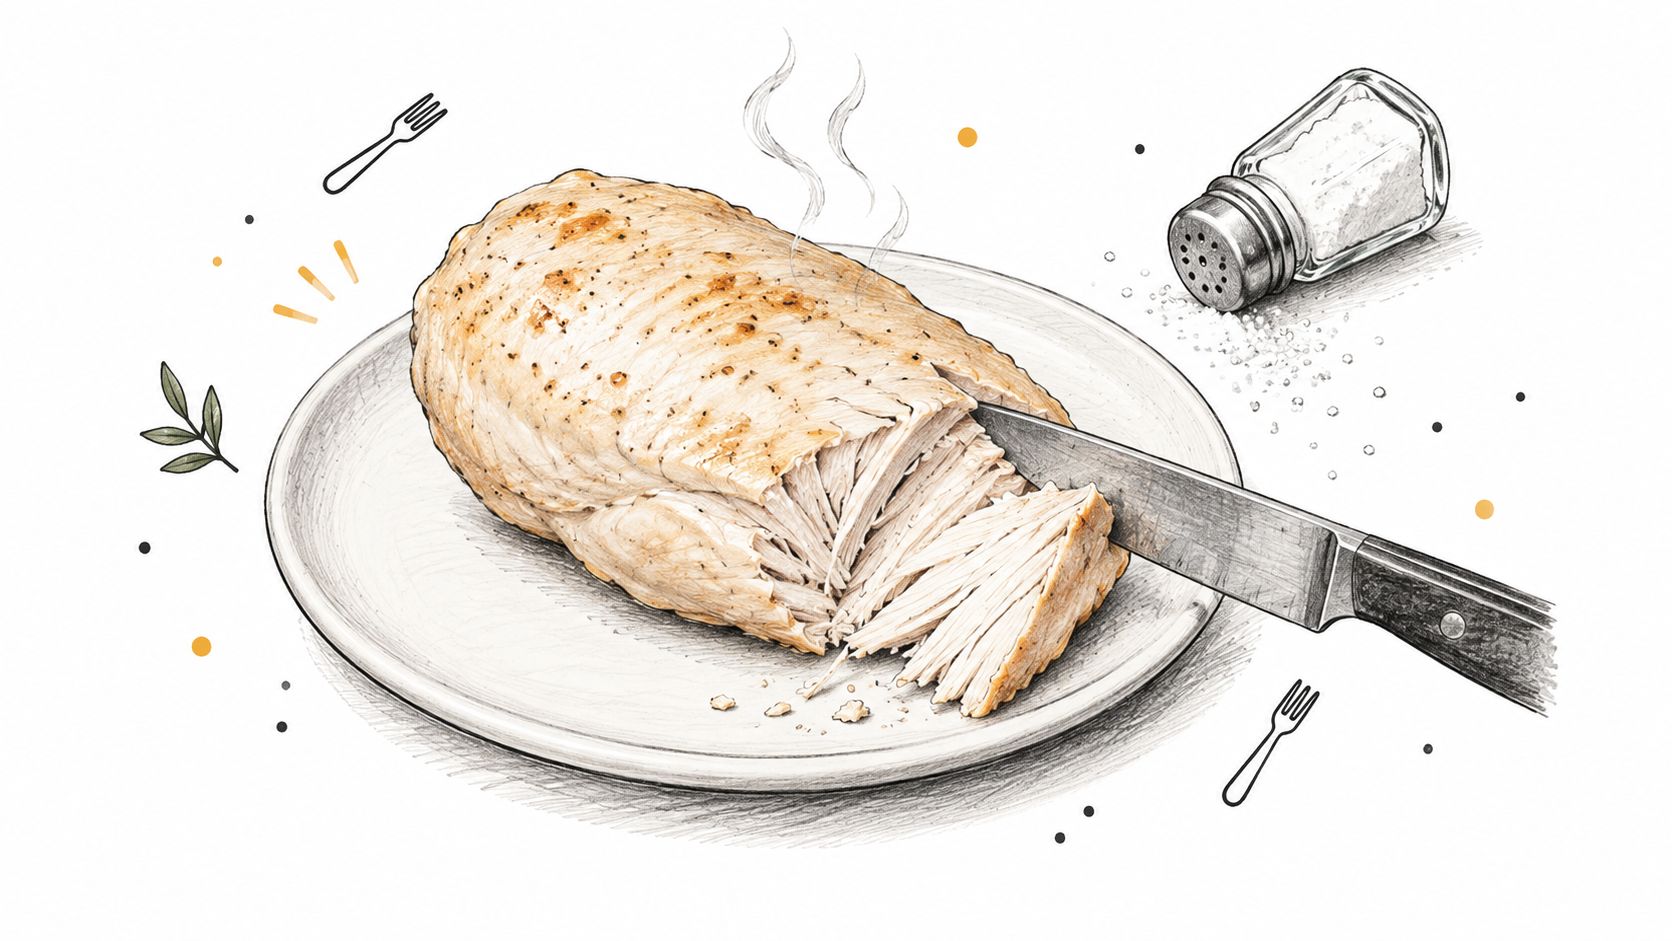
Learn the best seasoning for chicken breast in oven with simple steps, temperature tips, and Smokey Rebel rub recipes for...
Read moreBbq Gluten Free
Bbq gluten free. Your complete gluten-free BBQ guide: avoid hidden gluten, prevent cross-contamination, and enjoy safe grilled food
Read moreRoast Potato Seasoning: How to Build Flavour That Lasts
Learn how to make roast potato seasoning that actually delivers, from DIY blends to timing, technique and the right Smokey...
Read more