Pork Belly Strips BBQ: How to Smoke & Grill Them Perfectly
Pork belly strips work best with a two-stage cook: hold them over indirect heat at 160 to 180°C to render the fat and soften the meat, then finish them hot for colour and crisp edges, with pork cooked safely to 70°C for 2 minutes or 75°C for 30 seconds. If you want softer, richer belly rather than just sliced-and-crisp pork, some UK guidance also treats belly as a slow-cook cut that can be taken as high as 95°C for a more tender result.
That's usually the point where people get caught out. The strips look thin enough to grill like sausages or thick bacon, so they go straight over flame, the rub darkens too fast, and the outside turns bitter before the fat inside has had time to render. You end up with blackened edges, chewy centres, and a tray full of regret.
Good pork belly strips BBQ isn't about chasing colour first. It's about understanding the cut. Strip geometry changes everything. A narrow strip with a thick fat cap behaves very differently from a broad, evenly cut slice. Thickness decides render time. Sugar decides burn risk. Skin-on pieces need a different finish from skinless ones if you want that crackling-style bite without drying the meat underneath.
There's a practical reason this matters in the UK. Pork belly remains a mainstream cut, and in Scotland pork belly roasting volumes increased by 17.4% in 2024, while UK home-fed pig meat production rose from 885 thousand tonnes in 2023 to 937 thousand tonnes in 2025 according to Quality Meat Scotland market reporting and UK livestock statistics. More pork on the market and heavier carcasses mean belly stays easy to find for home cooks and BBQ weekends.
Why Your Pork Belly Strips Turn Out Chewy
Most bad pork belly strips start the same way. The grill is hot, the strips are seasoned, and they seem small enough to cook fast. Ten minutes later, the edges are catching, the sugar in the rub is going dark, and the middle still eats like under-rendered bacon.
That happens because belly strips are not bacon rashers. They carry more fat, more connective tissue, and more variation from one piece to the next. A strip that's thick in the middle and thin at the ends won't cook evenly over direct heat. The thin parts burn first, while the thicker section is still trying to soften.

Thickness changes the cook
The biggest mistake is treating all strips as if they behave the same. They don't.
- Thin strips cook fast, but they also dry out fast and scorch fast.
- Thick strips need patience, because the fat has to render before the bite turns silky.
- Uneven strips force you to choose between underdone centre sections and burnt tips.
UK recipe guidance leans hard toward indirect cooking first for a reason. BBC Good Food's barbecue-spiced pork belly guidance points toward lower barbecue temperatures and careful heat management, because direct heat too early scorches the outside before the belly loosens up.
Sugar burns before fat renders
A sweet rub or glaze can be brilliant on pork belly, but only at the right stage. Sugar doesn't wait for the inside to catch up. Put sweetly seasoned strips straight over strong heat and the surface can go from caramelised to bitter in a hurry.
Practical rule: If the outside is getting dark before the fat turns translucent and soft, your heat is too direct, too early.
This is why I tell people to stop cooking for colour in the first half of the cook. Belly needs time more than it needs aggression. Once the meat has softened, then you can chase char.
Don't guess doneness
Colour lies with pork belly strips. Some pieces look done early because fat fries on the surface. Others stay pale even when the inside is ready. A thermometer settles the argument. If you need a refresher on checking meat properly, this meat thermometer guide is worth having open beside the grill.
A chewy strip usually means one of three things:
| Problem | What happened | What to do next time |
|---|---|---|
| Burnt outside, tough inside | Direct heat too early | Start indirect and finish hot |
| Rub tastes bitter | Sugar caught before render | Use low-sugar seasoning early |
| One tray, mixed results | Strips were uneven | Sort by thickness before cooking |
Preparing the Cut for Smoking
Prep decides whether the finished strip bites cleanly or fights back. With pork belly strips, shape matters as much as seasoning. A thin strip can turn tender before the fat has time to baste it, while a thick one can still be tight in the middle when the edges look ready.
Trim for what will render
Leave the soft fat that will turn silky in the smoker. Cut away the dense, waxy lumps that stay chewy and greasy, especially on uneven supermarket packs. More fat is not always better on strips, because the narrow shape gives you less margin for error than a whole slab.
Skin-on strips need a clear plan. Keep the skin if you want a crackling-style finish later, but score it with control. Cut through the skin and just into the fat. Go deeper and the meat can dry along those score lines before the skin crisps.
Thickness is the first sort I make, before any rub touches the meat.
- Group strips by thickness so one tray finishes on the same timetable.
- Trim hard surface fat and any ragged flaps that will overcook.
- Score skin-on pieces in close, even lines for better render and cleaner crisping.
- Pat the surface dry so the smoke works on the meat instead of fighting moisture.
If your pack has mixed sizes, keep the thick centre-cut strips together and the thin edge pieces on their own. That one step solves a lot of “some were perfect, some were chewy” results.
Dry cure or wet brine
Choose the prep method based on the finish you want.
A dry cure suits pork belly strips better in most backyard cooks. It helps the surface dry, gives the rub something to grab, and sets you up for better colour and a crisper finish in the second stage. It also gives skin-on strips a better shot at blistering instead of staying rubbery.
A wet brine has its place if you are cooking ahead or want a softer bite, but it slows you down. Extra moisture on the surface delays browning, and strips do not have the mass of a full belly to hide that penalty.
Salt and airflow do more for pork belly skin than oil ever will.
What to do before seasoning
After curing or brining, give the surface time to settle. This is one of those small steps that changes the result.
- After dry curing: Wipe away drawn-out moisture, then leave the strips uncovered in the fridge if time allows.
- After wet brining: Rinse only if the brine was too salty, then dry the strips thoroughly with kitchen paper.
- Before smoking: Let them sit at cool room temperature while the cooker stabilises so the cold edge comes off.
That short rest helps strips cook more evenly, especially if you are working with both chunky pieces and thin ones in the same session.
Blanching is useful for stubborn fat
For very thick, fatty strips, blanching can give you a head start. Great British Chefs' strip method, cited via Thermapen's pork temperature guide page, notes that pork belly strips can be blanched in boiling water for around 5 to 10 minutes before drying and browning. I use that trick on skin-on strips when I want the skin to crisp hard at the end without leaving the meat over direct heat too long.
It is not an every-time move. Blanching softens the surface, so you need to dry the strips well before they hit smoke. But on thick-cut pieces, it can shorten the render phase enough to make the smoke-then-sear finish work the way it should.
Choosing the Right BBQ Rub
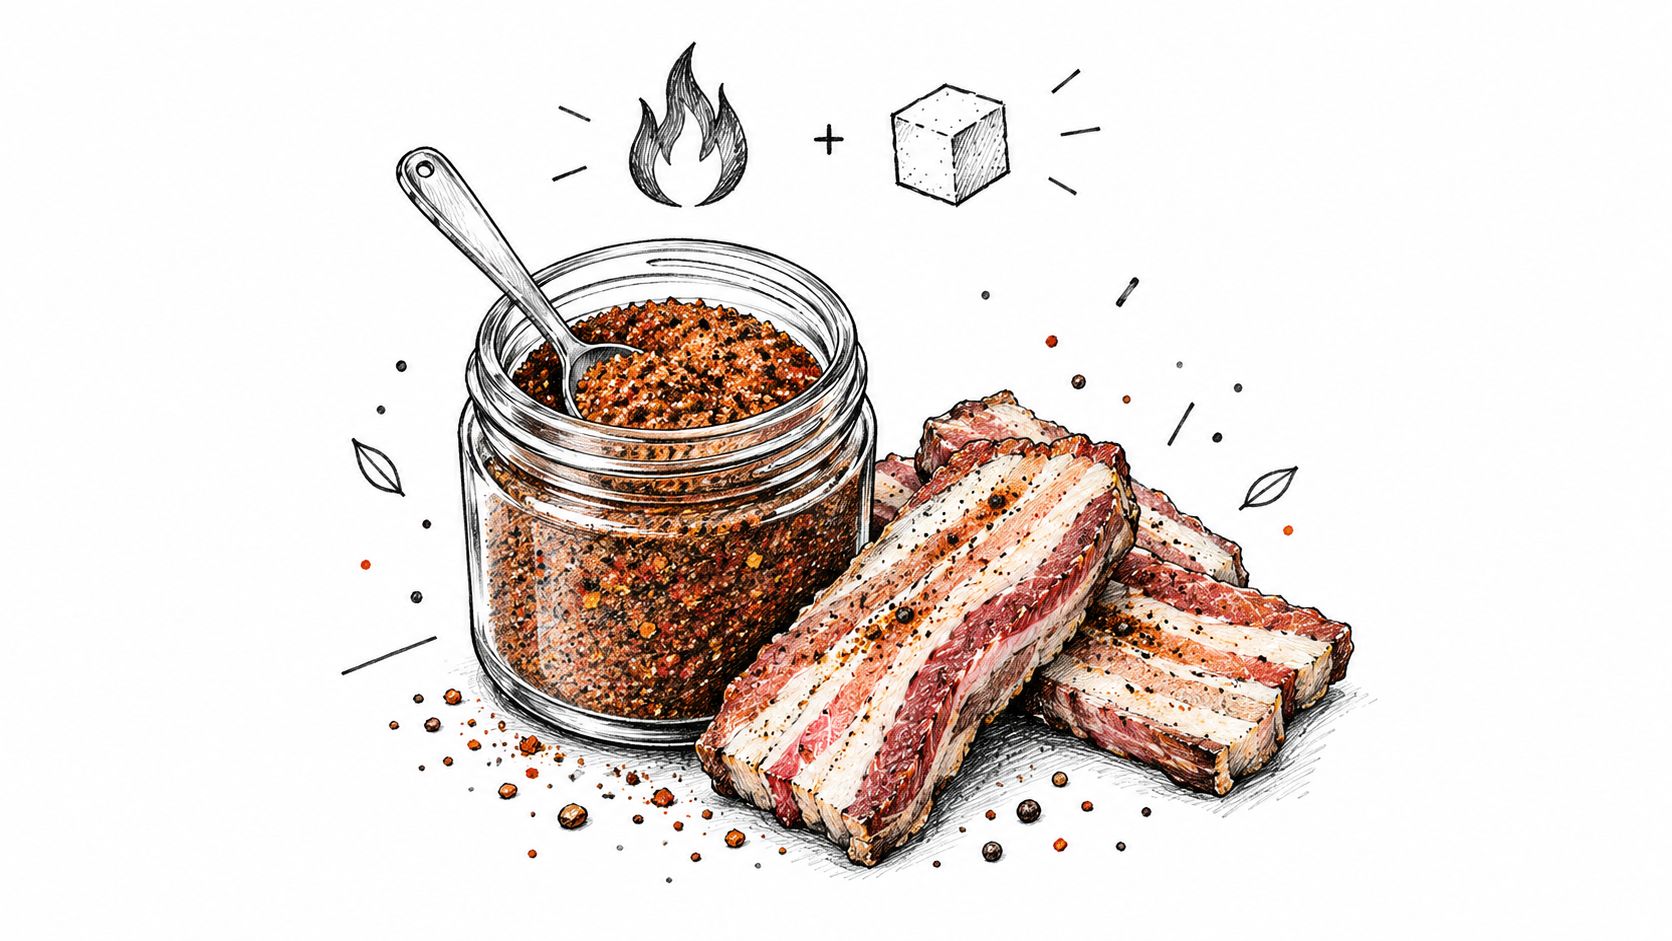
Rub choice matters more on belly strips than people think. The same seasoning that behaves well on ribs can turn awkward on pork belly if the sugar level is high and your finishing fire is lively.

Match the rub to the finish
For belly strips, I think in layers rather than one all-purpose coating.
| Rub style | What it does well | Trade-off |
|---|---|---|
| Savoury and low-sugar | Handles searing better | Less lacquered finish |
| Sweet and fruity | Great colour and glaze character | Burns faster over direct heat |
| Peppery base rub | Builds crust and balances fat | Needs sauce or finishing glaze if you want sweetness |
If you want one simple route, use a savoury base first and add sweetness near the end. That gives you control.
One practical option is SPG Base Blend for the first stage, because a straightforward salt, pepper, and garlic profile gives the fat room to shine without loading the surface with sugar too early. If you want a more pork-led profile, Hickory Hog Pork Rub fits the cut naturally. For a sweeter finish, Cherry Force BBQ Rub makes more sense as a late layer than an early heavy coat.
For more seasoning ideas built around this cut, this pork belly rub guide gives a good starting point.
A two-layer approach works
Apply the first layer lightly and evenly. Belly strips don't need a thick crust the way a large brisket might. Too much rub creates muddy flavour and increases the chance of scorching.
Then, once the fat has rendered and the strip is nearly there, add either a second dusting of sweet rub or a light glaze. That's how you get shine and bite without the burnt-sugar taste.
This short video is worth a watch if you like seeing seasoning and pork setup in action before you cook.
Belly rewards restraint. Too much rub hides the pork. Too much sugar fights the fire.
The Two-Stage Smoking Method
A belly strip can look ready on the outside and still fight back in the middle. That usually comes down to geometry. A thick, squat strip needs time for the fat to soften through the centre, while a thin strip can go from nicely rendered to dry in a short window.

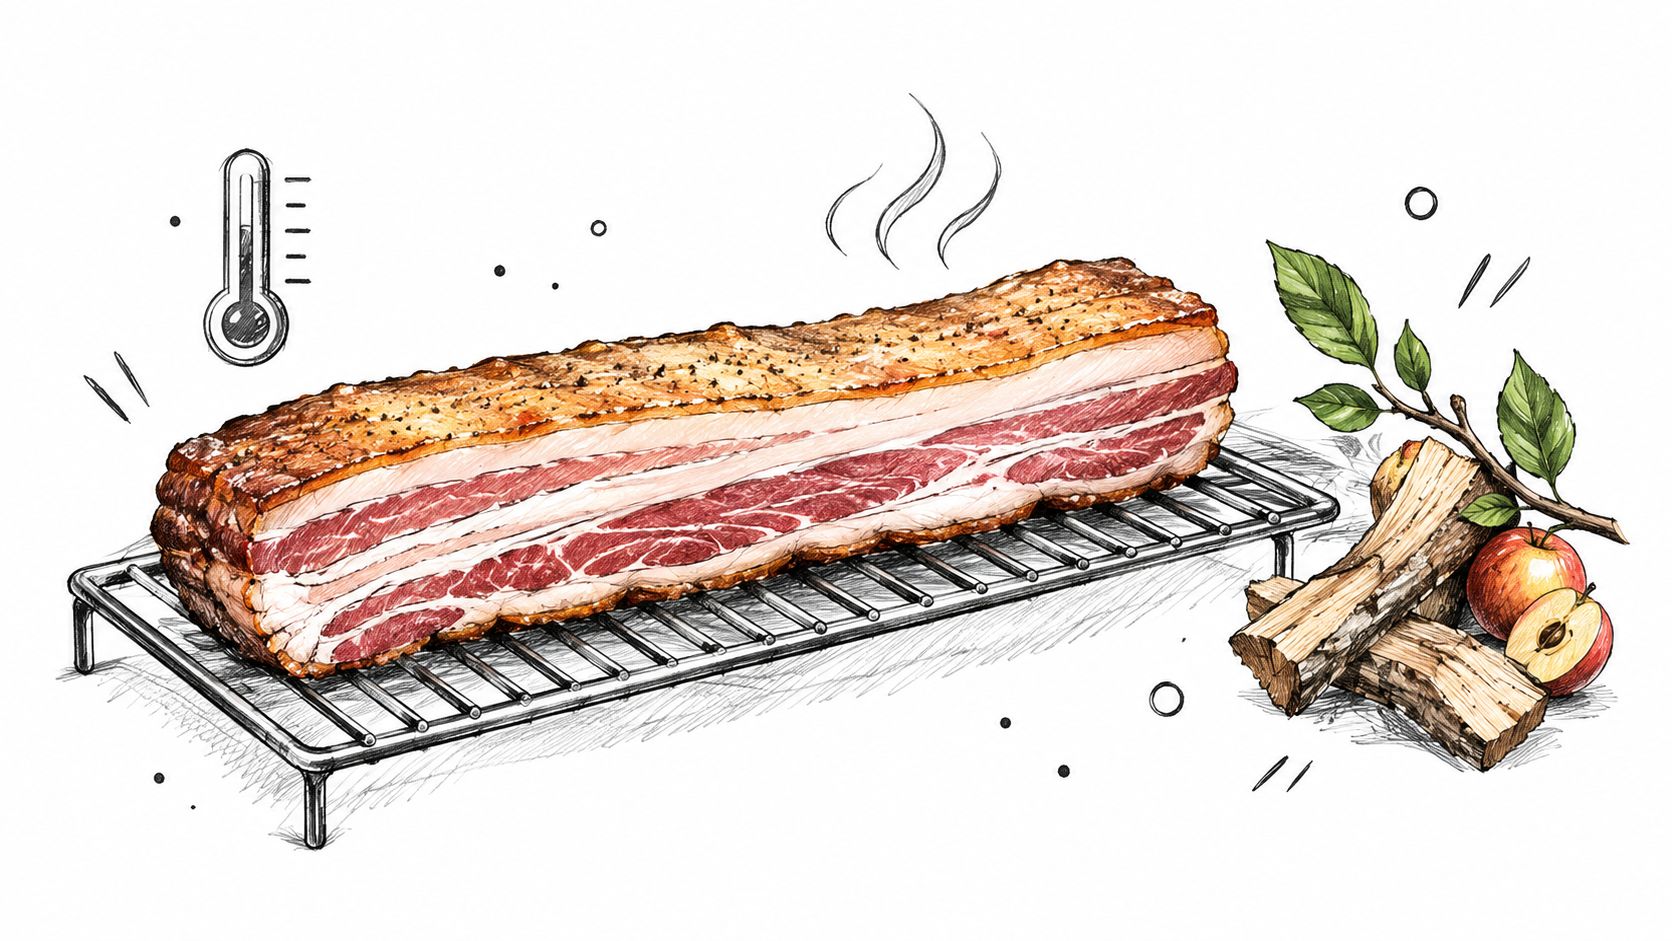
Stage one uses indirect heat
Set the cooker for steady indirect heat and clean smoke, then leave the strips alone long enough to render properly. With belly strips, airflow matters as much as temperature. Open the exhaust vent fully so stale smoke does not sit on the meat, then use the intake vent to make small corrections. Choking the fire down too hard gives you grey, dirty smoke, and pork belly strips pick that up fast.
If you're still learning vent control and fire behaviour, this guide to using a BBQ smoker lays out the basics clearly.
Place thicker strips toward the cooler part of the grate and thinner ones closer to the hotter edge. That one move helps the batch finish more evenly. A whole slab gives you some forgiveness. Strips do not.
Wood choice matters here because most of the smoke flavour lands in this first stage. Apple or cherry keeps the profile lighter. Hickory works if you want a stronger savoury note, but use a clean-burning fire because strips can turn acrid before they turn tender.
What tells you it is time to switch
Do not wait for a dark crust. Belly strips are ready for finishing heat when the structure changes.
- The fat cap looks glossy and slightly translucent
- The strip droops from the tongs instead of holding stiff
- A skewer slides into the thickest section with much less push
- The edges have started to tighten, but the surface is not hard
If one end of a strip is much thicker than the other, cook to the thick end. The thin end can take the extra few minutes. The thick end is where chewiness hides.
Stage two uses direct heat with control
Once the fat has rendered, move the strips over direct heat and work quickly. The goal is crisp edges and browned fat, not a long second cook. This is also why the smoke-then-sear sequence works so well with sweet rubs or glaze. Sugar behaves fine during the gentle stage, but over direct fire from raw it burns before the interior catches up.
For skinless strips, turn often during the finish. Short turns build colour without scorching the rub. For skin-on strips, start skin-side down over firm heat to blister the surface, then shift slightly off the hottest spot if flare-ups start licking the fat. Crackling-style crispness comes from rendered skin meeting dry, high heat. It does not come from leaving the strip in one place until it blackens.
A practical cue is sound. When the dripping settles from heavy sputtering to a sharper sizzle, most of the easy fat has already rendered and the surface is ready to crisp.
One reliable timing reference for pre-rendered pork belly slices suggests a brief hot finish, about 2 minutes per side, to brown without burning, as shown in this pork belly slices recipe. Use that as a rough guide only. Thick strips, sugary rubs, and skin-on pieces all change the pace.
Choose your finish by feel, then confirm temperature
Food safety is simple. Texture is the part you manage.
UK guidance summarised in this GOV.UK-based pork temperature article gives safe time and temperature combinations including 70°C for 2 minutes. That gets you safely cooked pork. It does not guarantee soft belly.
If I want neat slices with a crisp edge, I pull the strips once they are tender enough to bite cleanly and the fat no longer feels rubbery. If I want a softer, richer result, I keep them in the indirect stage longer before the final sear. The trade-off is simple. The more you chase spoon-soft texture, the less tidy the slices become.
| Finish style | What to look for | Best use |
|---|---|---|
| Crisp-edged, sliceable strips | Rendered fat, firm shape, quick clean sear | Platters, buns, cleaner portions |
| Softer, richer strips | Deeper render, looser feel, lighter final sear | Heavier plates, fork-tender bites |
Use the thermometer in the thickest strip on the grate, not the thinnest one that happened to finish first.
Finishing, Slicing, and Serving
The finish matters almost as much as the cook. Pull the strips and cut immediately, and you lose surface crispness and some of the juices. Let them sit too long, and the crust softens.
Rest before you cut
Give the strips a short rest on a rack or board before slicing. A rack is better than a plate if you've worked hard for crispness, because trapped steam underneath can soften the bottom surface.
Then slice across the grain where the strip shape allows it. Some belly pieces are awkward and irregular, so don't force perfect portions. Cut for bite, not for geometry.
A good finishing sequence looks like this:
- Take them off when the texture is right, not when they look darkest.
- Rest briefly so juices settle and the surface stops sputtering.
- Slice only if the strip needs it. Some are better served whole.
- Finish with acid or heat from pickles, slaw, or a sharp herb sauce.
Build a plate that balances the richness
Pork belly needs contrast. If every part of the plate is rich, the meal gets heavy fast.
Try these combinations:
- Sharp pickles cut through the rendered fat.
- An acidic slaw adds crunch and freshness.
- Herb sauces such as chimichurri or a vinegary green sauce brighten the pork.
- Soft buns or flatbreads turn thick strips into a more manageable bite.
For drinks, bitter beer, sparkling wine, or a smoky whisky all make sense. The right pairing isn't about showing off. It keeps the palate fresh between bites.
For skin-on strips, finish deliberately
If your goal is crackling-style crisp, don't hover indecisively over medium heat. Use a properly hot finish and watch closely. Skin needs conviction.
At the same time, don't keep the strips over direct fire just because the skin isn't there yet. Move, turn, and spot-sear the skin side if needed. Controlled bursts of heat do a better job than one long blast.
A crisp finish comes from dry skin and short high heat, not from leaving the strips on until they surrender.
Troubleshooting and Storage Tips
When pork belly strips go wrong, the fix usually points back to thickness and heat control. If the strips seem too fatty, they probably needed longer in the indirect stage, not more direct grilling. If the rub burned, the sweet layer went on too early or the fire was too aggressive. If some pieces were perfect and others were poor, the tray wasn't sorted by thickness before cooking.
Leftovers can still be excellent if you reheat them properly.
- For the fridge store cooled strips in a covered container and keep the pieces separate if you can.
- For reheating use a hot oven or a skillet so the surface re-crisps.
- Avoid the microwave if crisp texture matters, because it softens the exterior quickly.
If a leftover strip feels too rich the next day, chop it and serve it in smaller bites with something acidic. Belly rarely needs rescuing with more sauce. It usually needs balance.
If you want to dial in this style of cook, Smokey Rebel has small-batch BBQ rubs, wood pellets, and pork-focused flavour options that fit the smoke-then-sear approach. For pork belly strips, start with a savoury base, keep sweetness for the finish, and build your seasoning around how hot you plan to sear.
Join our Mailing List
Sign up and get Smokey Rebel Recipes + weekly recipes straight to your inbox!
Recent articles
Pork Belly Strips BBQ: How to Smoke & Grill Them Perfectly
Master pork belly strips BBQ with a two-stage method for crispy edges and tender meat. Learn rubs, temps, and timing...
Read moreBest BBQ Gift Ideas for Every Pitmaster in 2026
Discover the best BBQ gift ideas for 2026, from rubs and pellets to thermometers and bundles. Practical picks for every...
Read moreLemon Herb Seasoning: A Practical Guide to Flavour
Learn what lemon herb seasoning is, how to use it on chicken, fish and veg, plus storage tips and the...
Read more