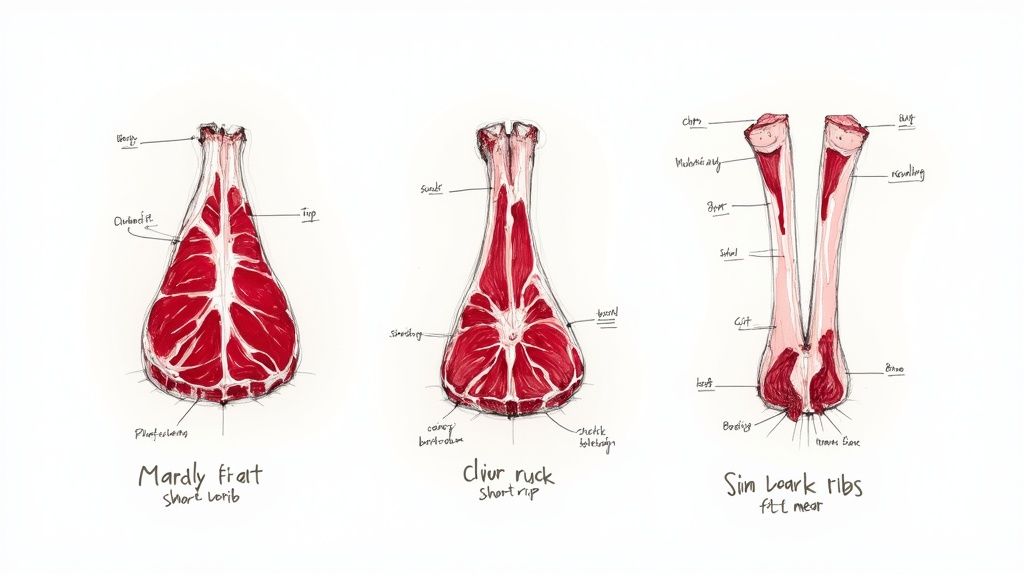
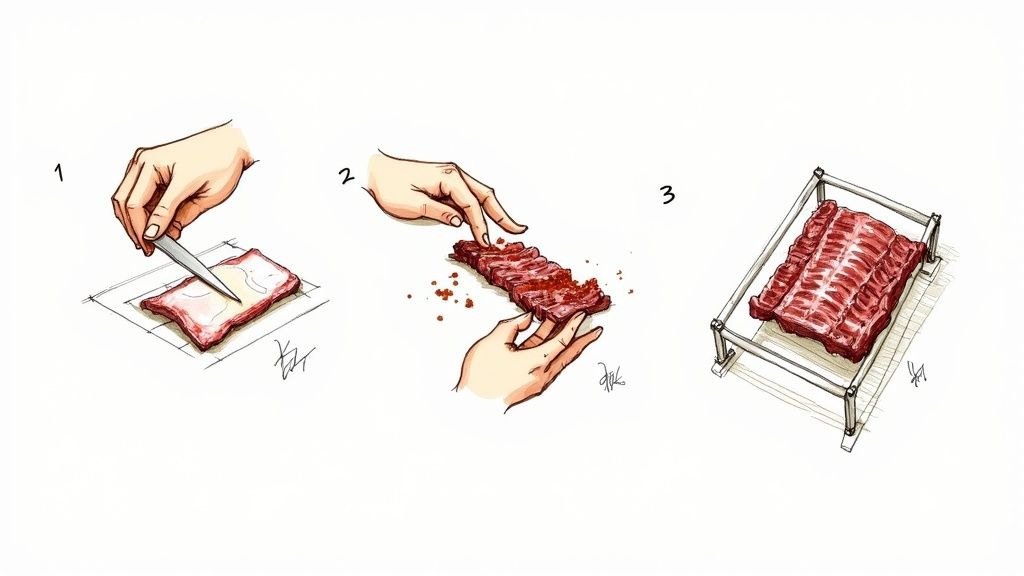
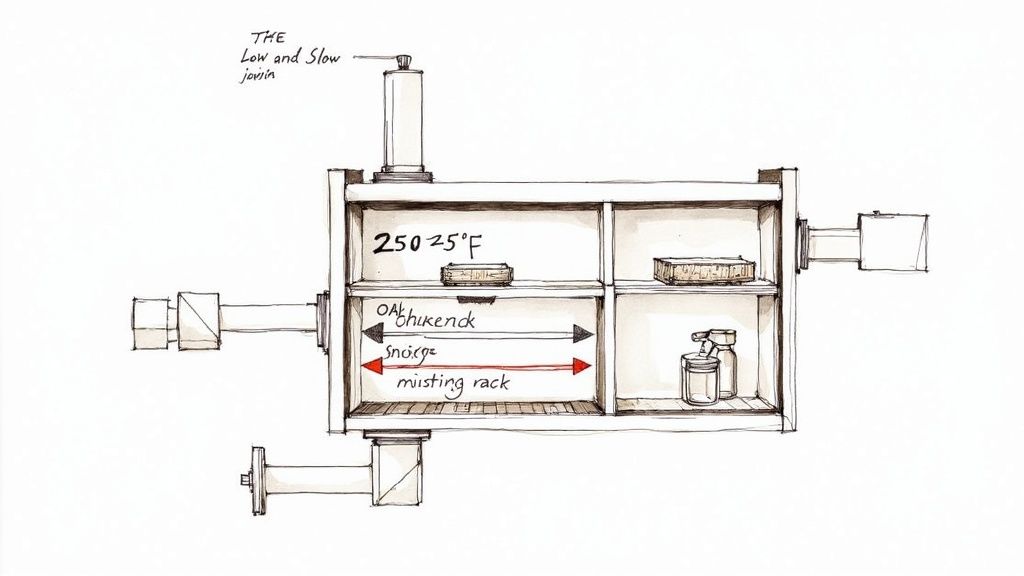
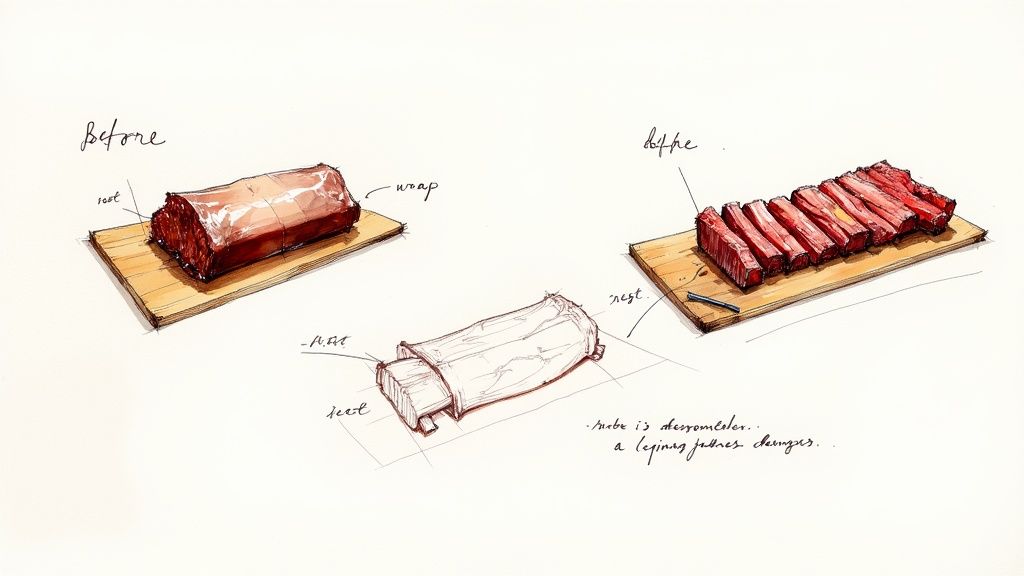
Beef Ribs in the Smoker: A Pitmaster's Guide
Recent articles


Cast Iron Frying Skillet: The Ultimate UK Guide 2026
Unlock the secrets of the cast iron frying skillet. Our complete UK guide covers choosing, seasoning, cooking, and cleaning, plus...
Read more

Cast Iron Frying Skillet: The Ultimate UK Guide 2026
Unlock the secrets of the cast iron frying skillet. Our complete UK guide covers choosing, seasoning, cooking, and cleaning, plus...
Read more

Jamaican Pimento Wood Smoking Guide
Explore Jamaican pimento wood from its botanical origins to sustainable sourcing and learn how to use it for BBQ and...
Read more
Cast Iron Frying Skillet: The Ultimate UK Guide 2026
Unlock the secrets of the cast iron frying skillet. Our complete UK guide covers choosing, seasoning, cooking, and cleaning, plus recipes for perfect results.
Cast Iron Frying Skillet: The Ultimate UK Guide 2026
Unlock the secrets of the cast iron frying skillet. Our complete UK guide covers choosing, seasoning, cooking, and cleaning, plus recipes for perfect results.
Jamaican Pimento Wood Smoking Guide
Explore Jamaican pimento wood from its botanical origins to sustainable sourcing and learn how to use it for BBQ and smoking with Smokey Rebel tips.
