How to Smoke a Brisket for Perfect, Melt-in-Your-Mouth Results
Smoking a brisket is a true labour of love. It’s all about cooking it low and slow, transforming a tough cut of beef into something unbelievably tender and packed with flavour. The whole process is a journey: you choose and season the brisket, let it bathe in smoke at a steady low temperature (around 110°C) for hours on end, and then—the hardest part—let it rest before you finally slice into it.
Your Guide to Smoking Your First Brisket
So, you're ready to tackle your first brisket. Good on you. We've put together a no-nonsense guide to help you get it right, specifically for BBQ lovers here in the UK. Forget all the confusing jargon and complicated steps you might have read elsewhere. Our goal is to show you that getting that perfect, melt-in-the-mouth result is genuinely achievable, right in your own garden.
We'll take you through the entire cook, from choosing a quality cut at your local British butcher to carving up that final, beautiful slice.
As proper American-style BBQ continues to take hold across the UK, finding a great brisket is easier than ever. This means one of the ultimate BBQ challenges is right there for the taking. We’ll let you in on a secret weapon, too: authentic, straightforward seasonings from Smokey Rebel. Our rubs are made with no added crap—just pure, authentic cultural flavours packed in our signature craft cans. They build an incredible foundation of flavour and can turn a good cook into a legendary one.
The Rise of British BBQ
The art of smoking meat, once something you’d only see on American TV, has well and truly landed in British back gardens. From dedicated weekend warriors to family cooks looking to create something special, more of us are discovering the pure satisfaction of spending a day tending the fire.
It's about so much more than just cooking; it’s about the whole experience. You can see this shift happening everywhere. The global brisket market is even projected to jump from $14.8 billion in 2024 to a massive $20.5 billion by 2032. If you're interested in the numbers behind the smoke, you can dig into some in-depth smoking statistics found here.
We're here to demystify the whole thing. With a solid technique and proper rubs that don't have any added crap, you can turn out a brisket that'll stand up against any pro smokehouse. It’s all about patience, not complexity.
What This Guide Will Cover
Think of this as your complete brisket playbook. We’ve packed it with practical steps and real insights to guide you through every stage of the cook.
Here’s what we’ll get into:
- Selecting the Perfect Cut: We'll show you exactly what to look for at the butcher's counter, from the right amount of marbling to that all-important fat cap.
- Building a Legendary Bark: Learn how to season your brisket to get maximum flavour and that dark, crunchy crust everyone raves about.
- Mastering the Low and Slow Cook: We'll talk temperature control, choosing the right wood, and how to push through the dreaded "stall."
- Resting and Slicing: These are the final, crucial steps. Get them right, and you're guaranteed a juicy, tender brisket every single time.
Choosing and Prepping Your Brisket Like a Pro

The journey to a legendary brisket doesn’t start when you fire up the smoker. Nope. It starts at the butcher's counter. Getting this first step right is the difference between a pretty good brisket and a truly epic one.
What you're after is a "packer" cut. This is the whole brisket, and it’s made up of two very different muscles: the point and the flat. The point is the fatty, thick end—that’s where all the flavour lives. The flat is the leaner, more uniform muscle sitting underneath it. A great brisket has a nice, thick flat and a well-defined point.
The secret to a juicy brisket lies in two things: the marbling and the fat cap. You want to see plenty of thin, spidery veins of fat running through the flat. That’s your insurance policy against a dry cook, as it’ll all melt and baste the meat from the inside out.
Don't forget to check the fat cap on top. You’re looking for a good, solid layer of hard, white fat, ideally at least a centimetre thick. This acts as a shield, protecting the meat during its long, slow smoke.
How to Trim for an Even Cook: A Step-by-Step Guide
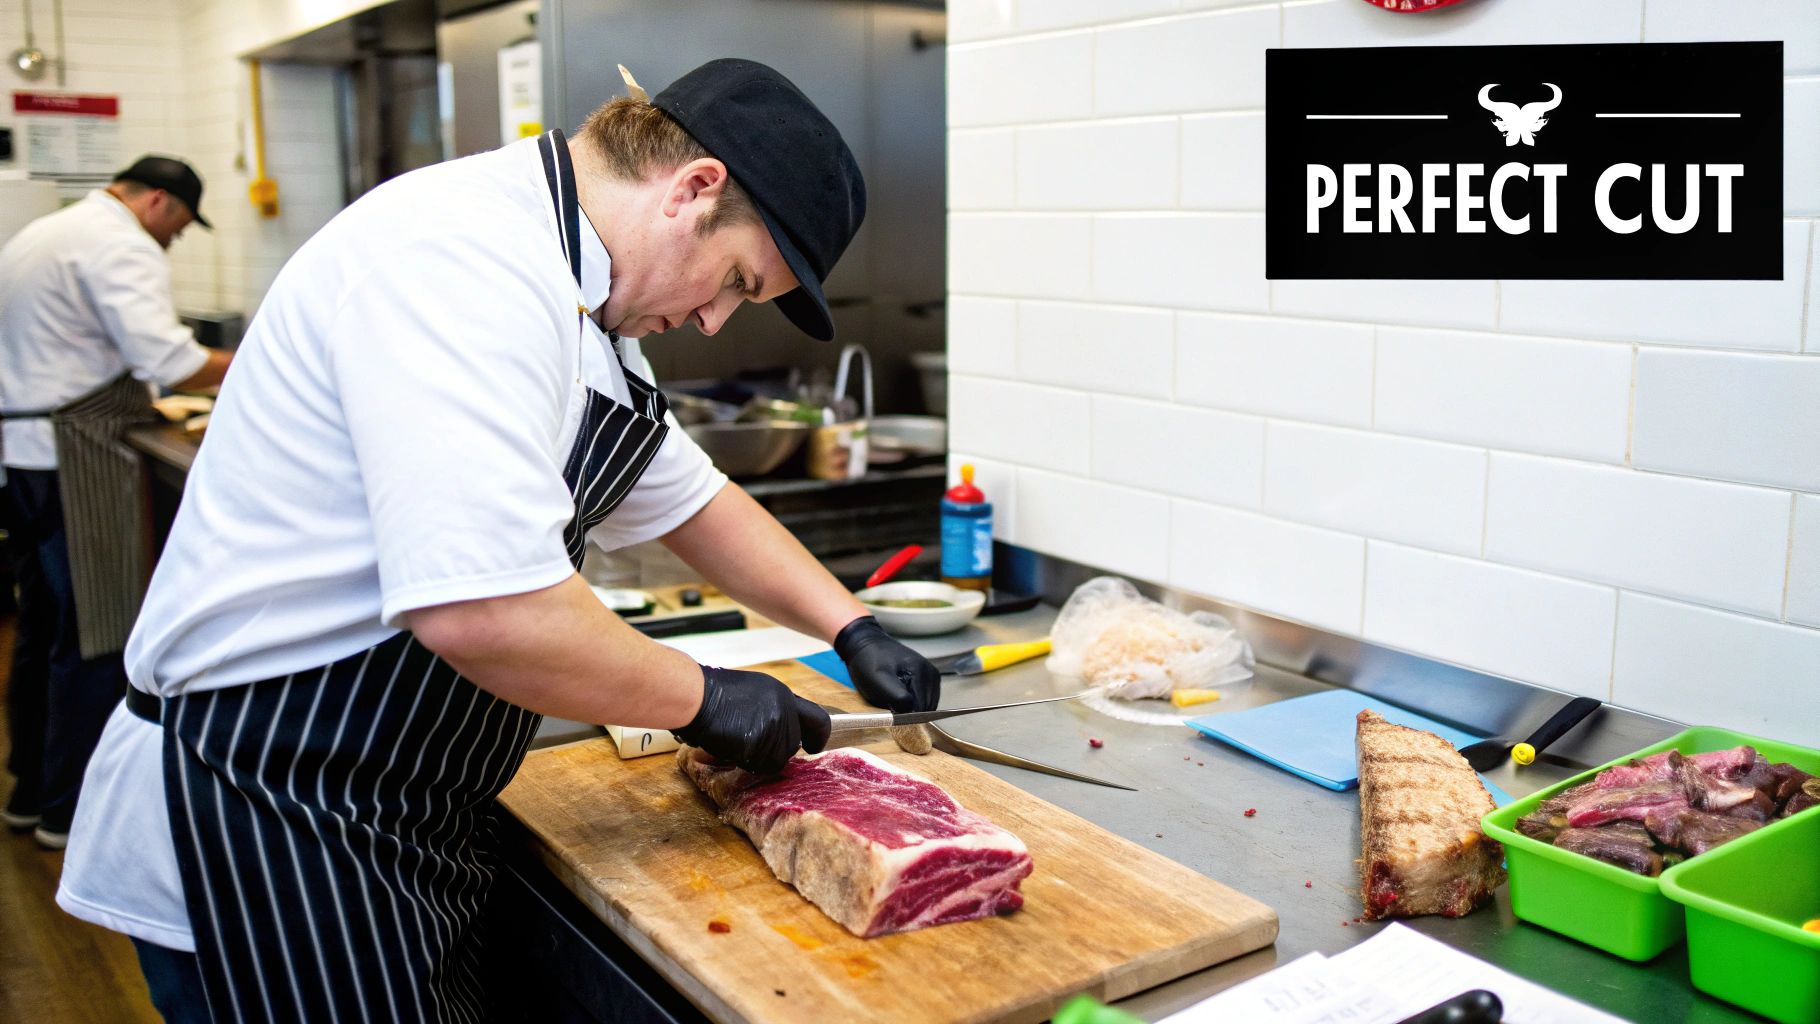
Right, let’s get it home and onto the board. Trimming is where the real artistry begins. The goal isn't to hack off all the fat, but to sculpt the brisket so it cooks evenly and takes on as much smoke as possible. A quick tip: pop it in the freezer for 20-30 minutes first. Cold fat is a thousand times easier to work with.
Here's how to do it in 4 simple steps:
- Round the Edges: Any sharp, square corners are just asking to get burnt to a crisp. Gently round them off with your knife to make the brisket more aerodynamic.
- Trim the Fat Cap: This is crucial. You want to trim the fat cap down to a consistent ¼ inch (around 6mm). Too thick, and the rub won’t penetrate. Too thin, and you lose that protective layer.
- Tackle the Hard Fat: You'll find a big, hard lump of fat between the point and the flat. That's the "dekel." Get rid of most of it. It won’t render properly and just leaves a greasy mouthful.
- Clean Up the Underside: Flip it over. See that thin, shiny membrane? That’s silver skin. Trim that off, along with any other big chunks of hard fat you find on the meat side.
Taking the time to do this properly sets you up for success. A well-trimmed brisket will render beautifully, cook evenly, and develop that incredible bark we’re all chasing. It's an effort that pays off in every single slice.
Building a Legendary Bark with the Right Rub
Right, your brisket is trimmed and looking the part. Now for the fun bit: building the flavour. A truly legendary brisket is all about the bark—that dark, ridiculously savoury, slightly crunchy crust that forms on the outside. It's where the smoke, your seasoning, and all that gorgeous rendered fat come together to create pure magic.
This isn’t just a case of chucking on some salt and pepper and hoping for the best. This is your chance to stamp your personality on the cook. We built Smokey Rebel on the idea of creating rubs with no added crap, just pure, authentic cultural flavours that make the meat shine. Our iconic craft cans keep every blend fresh until you're ready to cook.
Choosing Your Flavour Profile
The rub you pick has a massive impact on the final taste. Are you chasing that classic, savoury Texas-style finish, or do you fancy something with a touch of sweetness to cut through the rich beefiness?
To help you nail that perfect flavour, we've put together a quick guide to some of our go-to brisket rubs.
Smokey Rebel Rubs Brisket Flavour Profiles
| Smokey Rebel Rub | Primary Flavour Profile | Best Used For | Why It Works on Brisket |
|---|---|---|---|
| All Purpose Pitmaster | Classic Savoury & Peppery | Creating a traditional, dark Texas-style bark. | Its balanced salt and pepper base is the perfect canvas for smoke and beef. It’s a true all-rounder. |
| Sweet Honey Hog | Sweet & Smoky | Adding a sweet counterpoint to the beef's richness. | The honey notes caramelise beautifully, creating a complex bark that people can't get enough of. |
| Cherry Force | Fruity & Savoury | A modern twist on brisket with a unique, sweet-savoury profile. | The hint of cherry brings a subtle sweetness that pairs surprisingly well with the deep beef flavour. |
| Beef'd Up | Rich & Umami-packed | When you want to go all-in on enhancing the natural beef taste. | This is specifically designed for beef, with deep savoury notes that create an incredibly flavourful crust. |
Each rub brings something different to the party. It really comes down to what you and your guests are in the mood for. If you're still undecided, check out our complete rundown in the guide to the best BBQ rubs for brisket.

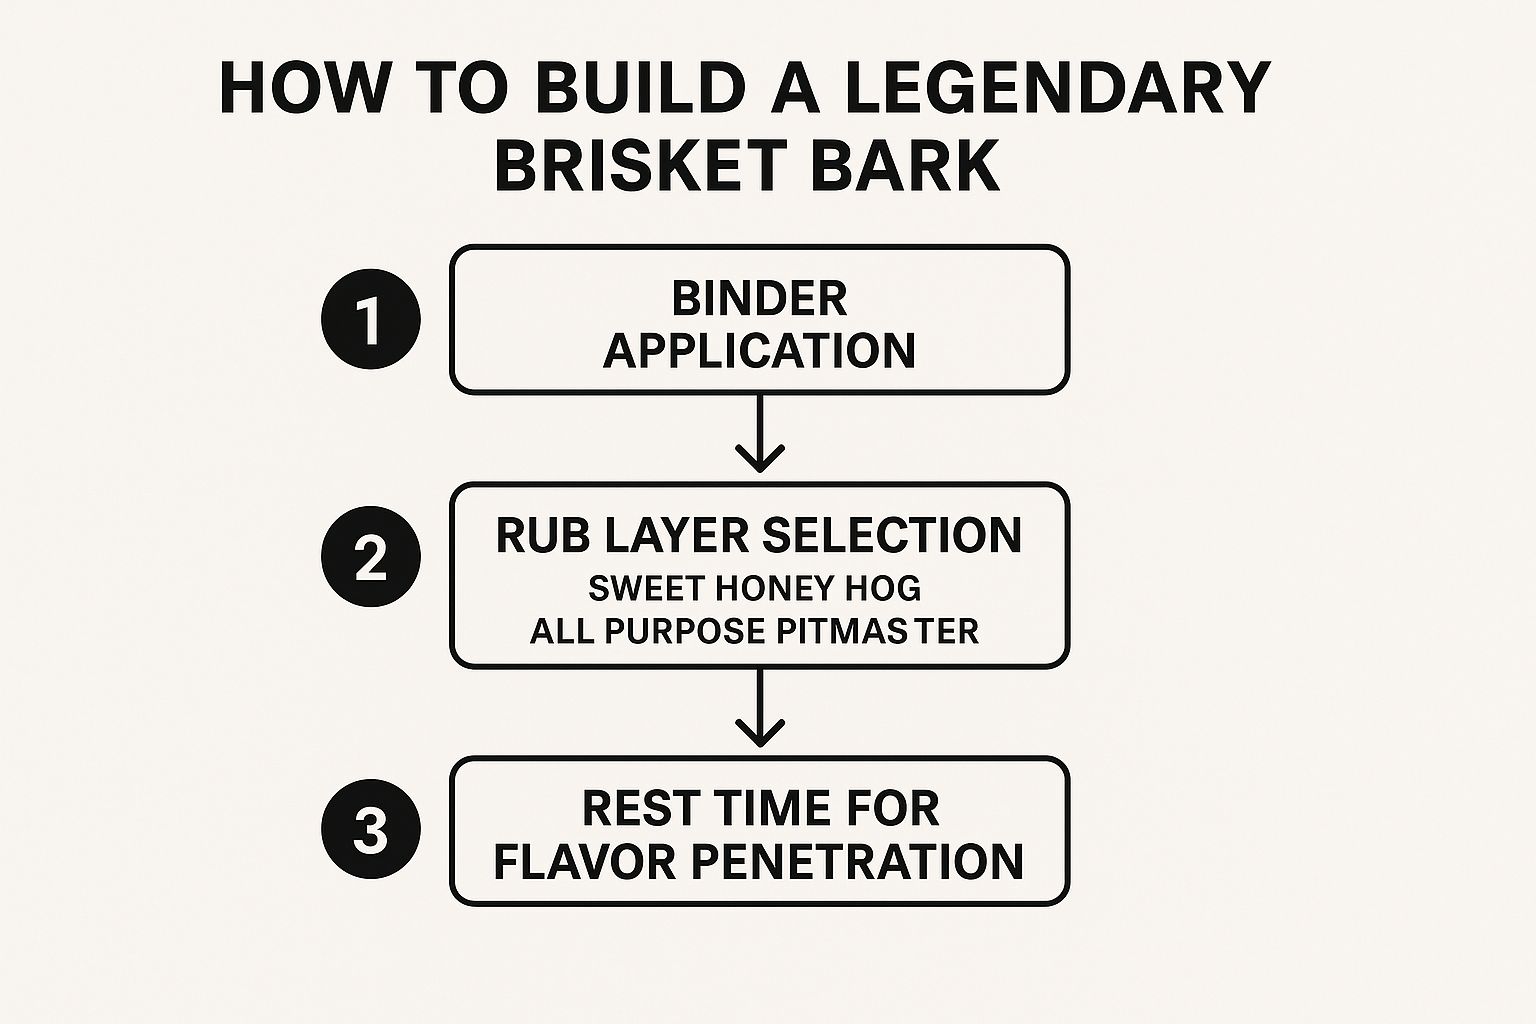
As you can see, getting a killer bark is all about layering your flavours deliberately—from binder to rub to rest.
Application for Maximum Flavour: Your 2-Minute Seasoning Method
How you apply the rub is just as critical as what you apply. You're aiming for a perfectly even coat that’s going to cling to that brisket for the entire cook.
- Apply a Binder (30 seconds): A binder is just a thin layer of something to help the seasoning stick. It doesn't need to be fancy; you're not trying to add flavour, just tackiness. A thin slather of plain yellow mustard is the classic choice. Don't worry, you won't taste it at the end.
- Season Liberally (90 seconds): Get a thin, even layer of your chosen binder across the whole surface of the brisket. Now, season it. And I mean season it. Don't be shy! A massive cut of meat like a brisket can handle a lot of rub. This is what forms that iconic bark, so get a good, solid coating on all sides.
For the best results, get this done the night before. Season it up, wrap it tightly in cling film, and let it hang out in the fridge for at least 12 hours. This dry brining process lets the salt and spices work their way deep into the meat, seasoning it from the inside out. It makes a world of difference.
Mastering the Low and Slow Cooking Process

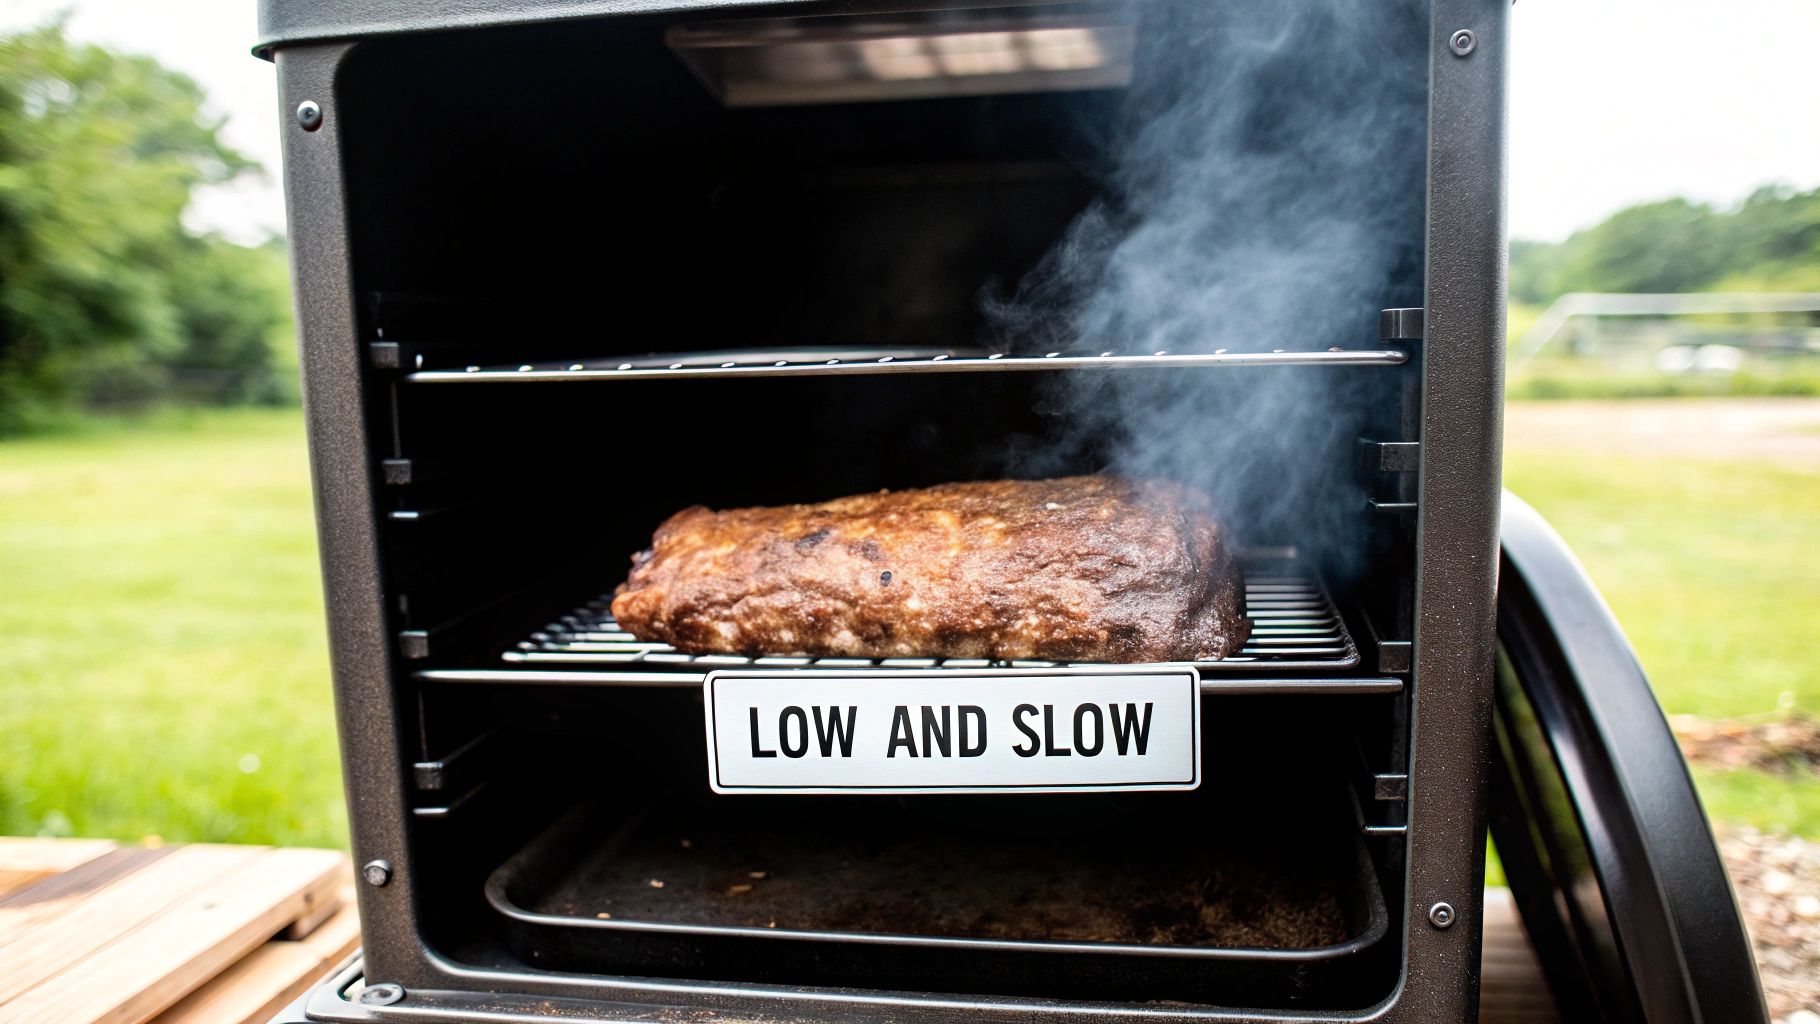
Alright, your brisket is seasoned and looking the part. Now for the main event: the smoke. This is where patience truly becomes your best friend. Smoking a brisket is a marathon, not a sprint. We’re aiming for a low, consistent temperature over many hours, which is the only way to melt that tough connective tissue into the tender, beefy gold we’re all chasing.
Your sweet spot is a steady 107–121°C (225–250°F). Locking in your smoker at this temperature is the single most important job you have for the next several hours. Go too hot, and you’ll char the outside before the inside even thinks about getting tender. Too low, and you’ll be staring at that smoker all weekend.
Setting Up Your Smoker
It doesn't matter if you're working with a classic kettle BBQ, a bullet smoker, or a fancy pellet grill – the core principle is always indirect heat. You want that heat and smoke to gently wrap around the brisket, never hitting it directly.
If you're using a charcoal smoker, this means banking your coals on one side and placing your brisket on the opposite side. Pop a water pan in the middle; it's a brilliant way to help regulate the temperature and keep the cooking environment nice and humid.
The wood you choose is what gives the brisket its soul. Here in the UK, we've got access to some fantastic woods that pair beautifully with beef.
- Oak: This is the undisputed king of brisket wood, especially in Texas. It gives a solid, medium smoke flavour that complements the beef without completely bulldozing it.
- Cherry: My personal favourite for adding a touch of sweetness and helping to build that gorgeous, deep mahogany bark. It’s milder than oak and adds a subtle fruity note to the party.
- Hickory: If you want that classic, bold, in-your-face barbecue smoke, hickory is your wood. It’s stronger than oak, so be careful not to overdo it.
Everyone has their preference, of course. You can dive deeper into all the options in our guide on choosing the best wood chunks for your smoker. Honestly, though, you can't go wrong starting with a simple mix of oak and cherry.
Conquering The Infamous Stall
At some point, you’ll hit "the stall." It usually happens when the brisket's internal temperature gets to around 65–75°C (150–165°F). You’ll be watching the thermometer, seeing it climb nicely, and then… nothing. It just stops. For hours, sometimes. Don't freak out. This is completely normal and happens to every single pitmaster.
The stall is just science at work. It's caused by evaporative cooling – as the brisket heats up, moisture works its way to the surface and evaporates, which cools the meat down at almost the same rate it’s being heated. It’s the same reason we sweat!
To get things moving again, we can use a trick called the "Texas crutch." This just means wrapping the brisket tightly. You can use foil, but I much prefer pink butcher paper. Why? Because butcher paper is breathable. It traps enough heat and moisture to push through the stall, but it still allows some steam to escape, which is crucial for preserving that incredible bark you’ve worked so hard for.
Once it's wrapped, get it back on the smoker and you'll see that temperature start to tick upwards again.
While a lot of the data comes from the US, experience shows a full packer brisket can take anywhere from 12 to 18 hours to cook through. As a rough guide, plan for about 1 to 1.5 hours per pound when smoking at that steady 107–121°C. Just remember, every brisket is different, so trust your thermometer, not the clock.
The Final Steps: Resting And Slicing For Maximum Juiciness

You’ve dedicated hours, maybe even a full day, to this magnificent piece of meat. You’ve pushed through the stall, built a legendary bark, and finally felt that glorious, probe-tender give. It’s so tempting to charge in and slice it up straight away, but hold on. This is where patience separates the good from the truly spectacular.
The final two steps—resting and slicing—are completely non-negotiable.
Skipping the rest is the single biggest mistake you can make. It’s what turns a potentially phenomenal brisket into a dry, disappointing memory. After hours in the smoker, those muscle fibres are tense and have squeezed out a lot of their natural moisture. Resting gives them a chance to relax and, crucially, reabsorb all those incredible, flavourful juices.
Think of it like this: if you slice into that brisket hot off the smoker, all that precious liquid will pour out onto your cutting board, lost forever. A proper rest locks those juices inside the meat, right where they belong, guaranteeing every single slice is mouth-wateringly tender.
How To Rest Your Brisket Properly
The goal here is simple: let the brisket's internal temperature gently drop while keeping the outside perfectly warm. The best and easiest way to pull this off is the classic "faux cambro" method, which just means using a standard picnic cooler.
- Prep Your Cooler: While the brisket is finishing up on the smoker, line a clean cooler with a couple of old towels.
- Transfer the Brisket: As soon as it hits that sweet spot of probe tender (around 93-95°C / 200-203°F), get it off the smoker. Don't unwrap it from its butcher paper!
- Insulate and Wait: Place the wrapped brisket directly into the prepared cooler. Chuck another towel over the top and shut the lid tight.
Now comes the hard part: leave it alone. Seriously. A brisket needs to rest for an absolute minimum of one hour, but if you can push it to two to four hours, you'll be rewarded. That insulated cooler will keep it at a safe and perfectly warm temperature for a surprisingly long time.
Slicing Against The Grain
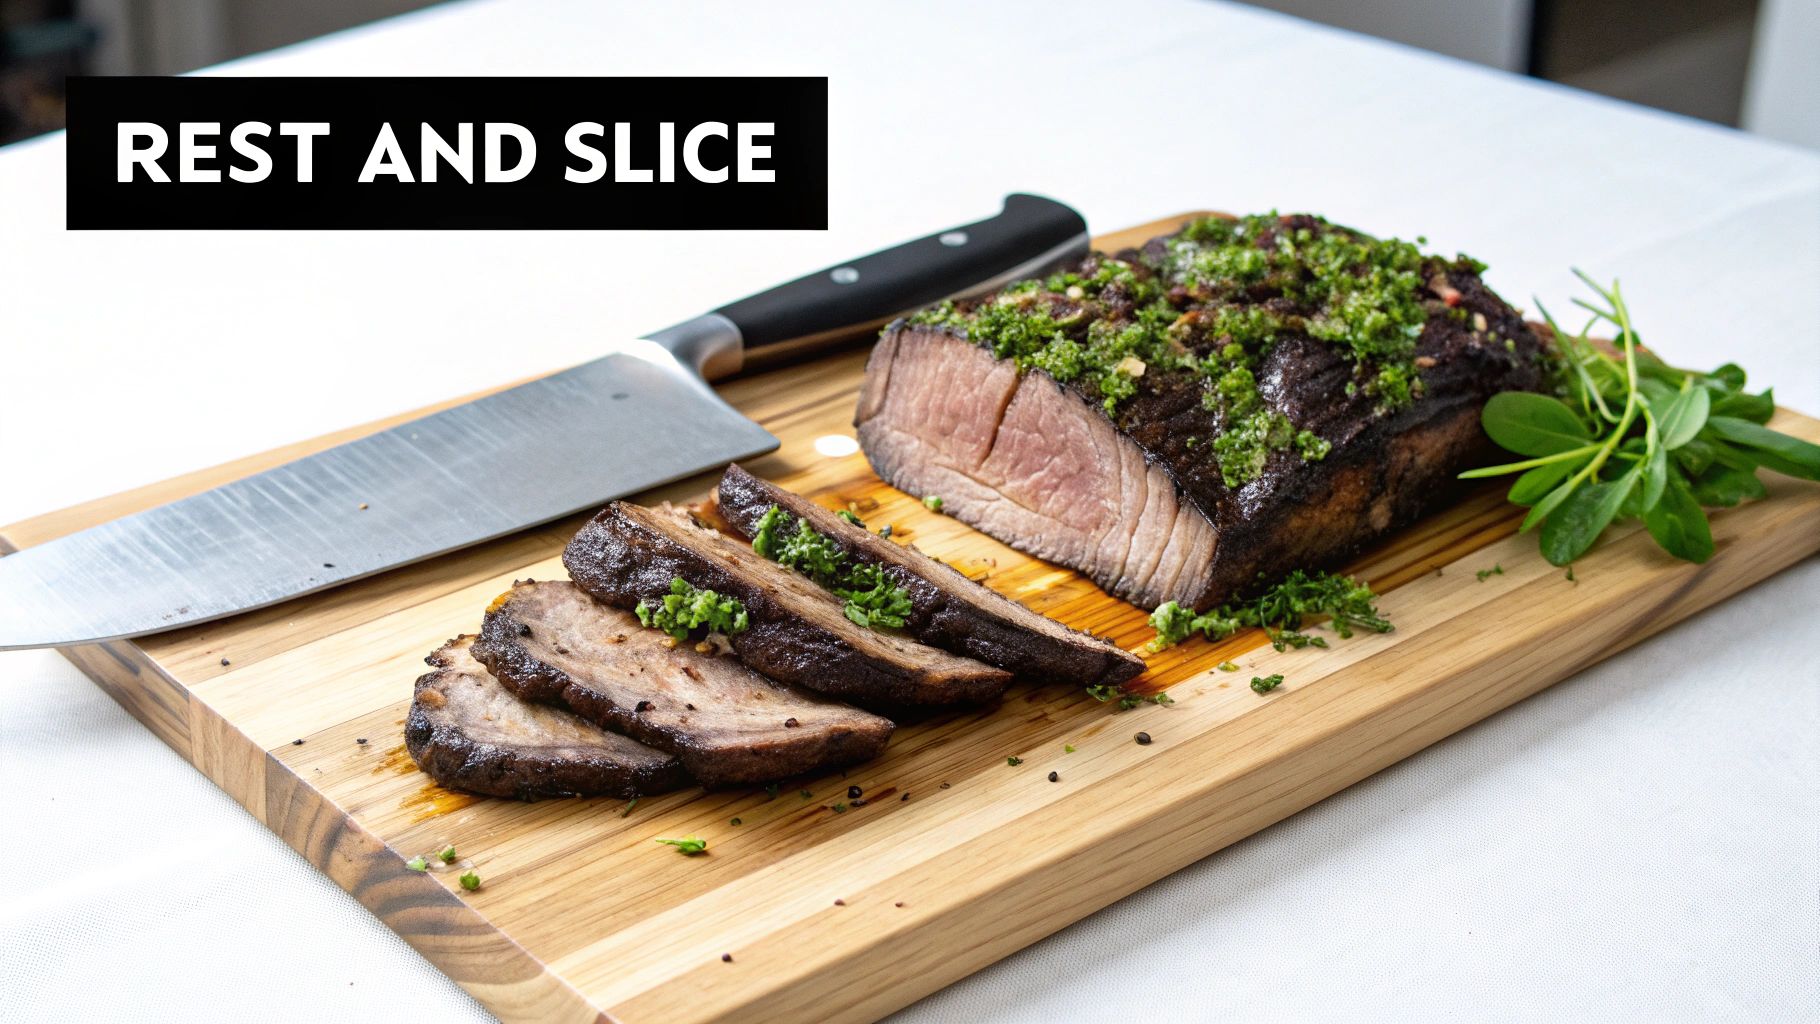
Once the long wait is over, it’s time for the final payoff. But how you slice your brisket is just as important as how you cooked it. You must, without fail, slice against the grain.
Slicing with the grain results in long, chewy muscle fibres. Slicing against it shortens those fibres, making the meat incredibly tender and easy to eat.
The tricky thing about a whole brisket is that the grain runs in two different directions on the two main muscles: the flat and the point.
The best way to tackle this is to first separate the two muscles. Look for the obvious seam of fat that runs between the point and the flat, and simply slice right through it. Now you can handle them as two individual pieces.
For the leaner flat section, aim for slices about the thickness of a pencil, cutting straight across the grain. The point is much fattier and more forgiving, so you can go a bit thicker with your slices there.
Now your masterpiece is ready to go. All that's left is to pick the perfect sides to go with it. For some top-tier ideas, check out our guide on what to serve with brisket.
FAQs: Your Brisket Questions Answered
Even with a solid game plan, you're bound to have questions pop up, especially when you're just getting started. It happens to everyone. So, let's tackle some of the most common things people ask when they're figuring out how to smoke a brisket.
What’s the best smoker for a beginner in the UK?
For anyone in the UK just dipping their toes in, you can't go wrong with a classic kettle-style BBQ like a Weber. They're absolute workhorses and incredibly versatile. If you’re ready for something more dedicated, a vertical bullet smoker is a fantastic choice as they hold temperature steadily. Pellet grills offer brilliant 'set-it-and-forget-it' convenience but come with a higher price tag. Your choice boils down to budget, space, and how hands-on you want to be.
My brisket came out dry. What did I do wrong?
A dry brisket is usually down to a few fixable slip-ups. You might have trimmed too much fat, or the temperature might have run too hot. But honestly? The most common culprit is not resting it long enough. A proper rest of at least one hour is non-negotiable. It’s the magic step that lets all those juices redistribute. Also, try spritzing the brisket every hour (after the bark has set) with apple cider vinegar or water to keep the surface from drying out.
Should I wrap my brisket in foil or butcher paper?
This is one of the great debates in BBQ! Foil (the 'Texas crutch') speeds up your cook but can soften the bark by trapping steam. Pink butcher paper is the perfect middle ground. It’s breathable, letting enough steam escape to keep the bark firm, while still protecting the meat and helping you power through the stall. For the best of both worlds, butcher paper is the way to go.
How do I know for sure when my brisket is done?
Forget about the clock. While a thermometer is a great guide (aiming for 93-95°C / 200-203°F), the real test is all about feel. Your brisket is ready when you can slide a temperature probe into the thickest part of the flat and it meets almost zero resistance—it should feel like probing a stick of softened butter. That "probe tender" feeling is the only sign you need. Always trust the feel over a specific number on a screen.
Can I use the same rubs on other meats?
Absolutely! While our Beef'd Up is designed for beef, our All Purpose Pitmaster is fantastic on everything. For other classic BBQ dishes, try our Sweet Honey Hog as a go-to seasoning for BBQ pulled pork, or use our Cherry Force as one of the best BBQ seasonings for chicken. The same principles of building flavour apply.
Ready to create that legendary bark? At Smokey Rebel, our rubs are crafted in small batches with no added crap, just pure, authentic flavour designed to make your next cook unforgettable. Find your perfect brisket seasoning at https://smokeyrebel.com.
Join our Mailing List
Sign up and get Smokey Rebel Recipes + weekly recipes straight to your inbox!
Recent articles
A Flavorful Guide to the Protein Diet
Discover how a protein diet can boost energy and support your health goals. Learn to make delicious, high-protein meals that...
Read moreThoughtful gifts for husband: 25 ideas he'll love
Need thoughtful gifts for husband? Explore practical, memorable ideas he'll genuinely appreciate and use, from everyday essentials to personalised picks.
Read moreTop 10 Foods on a High-Protein Diet for Flavourful Results
Discover the top foods on high protein diet to fuel your goals. Learn how to perfectly season chicken, beef, and...
Read more


