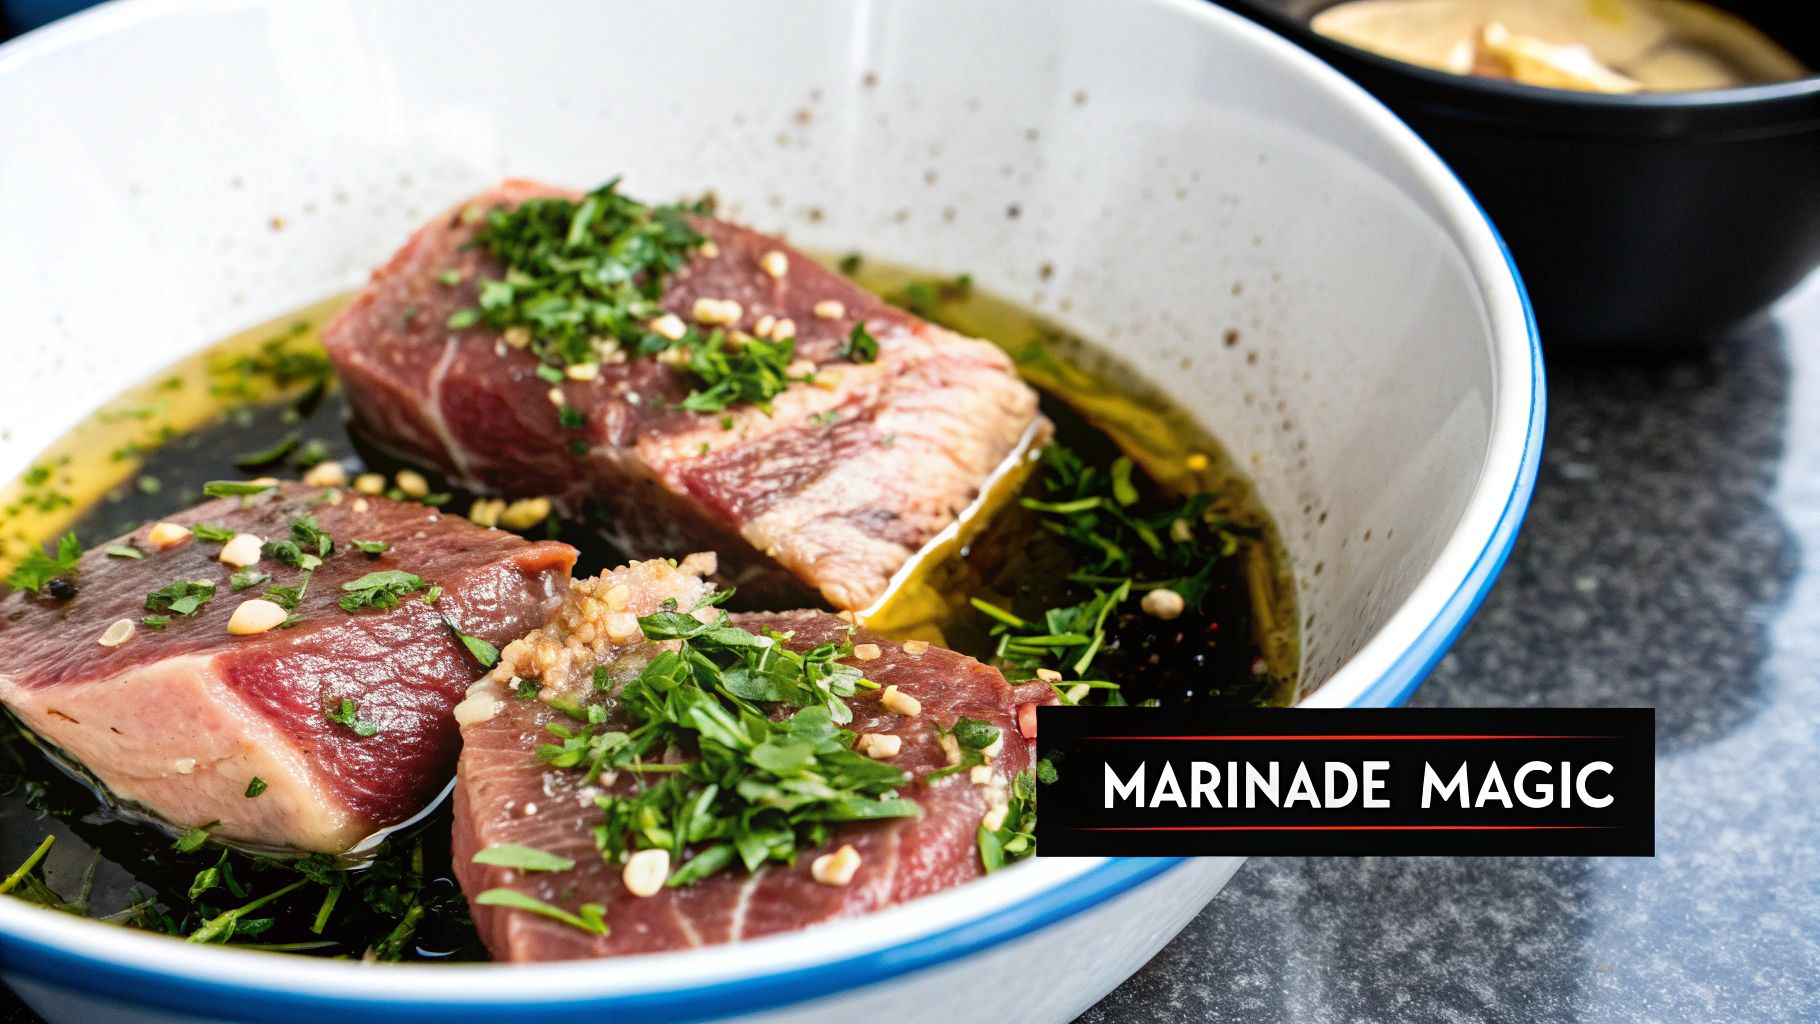
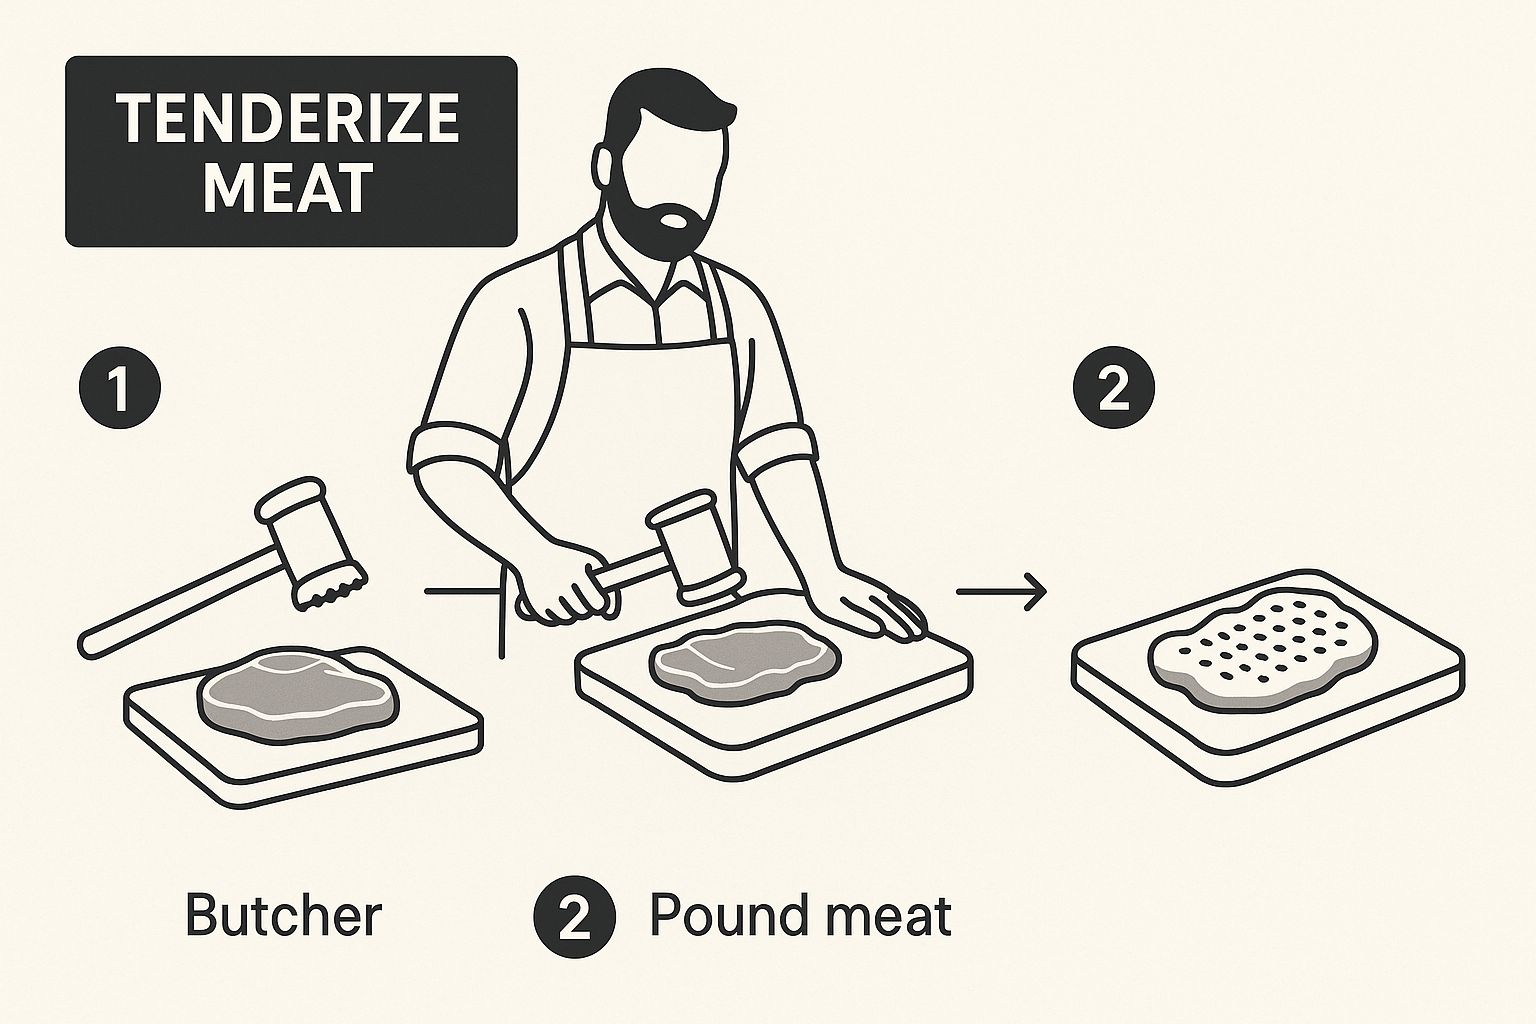
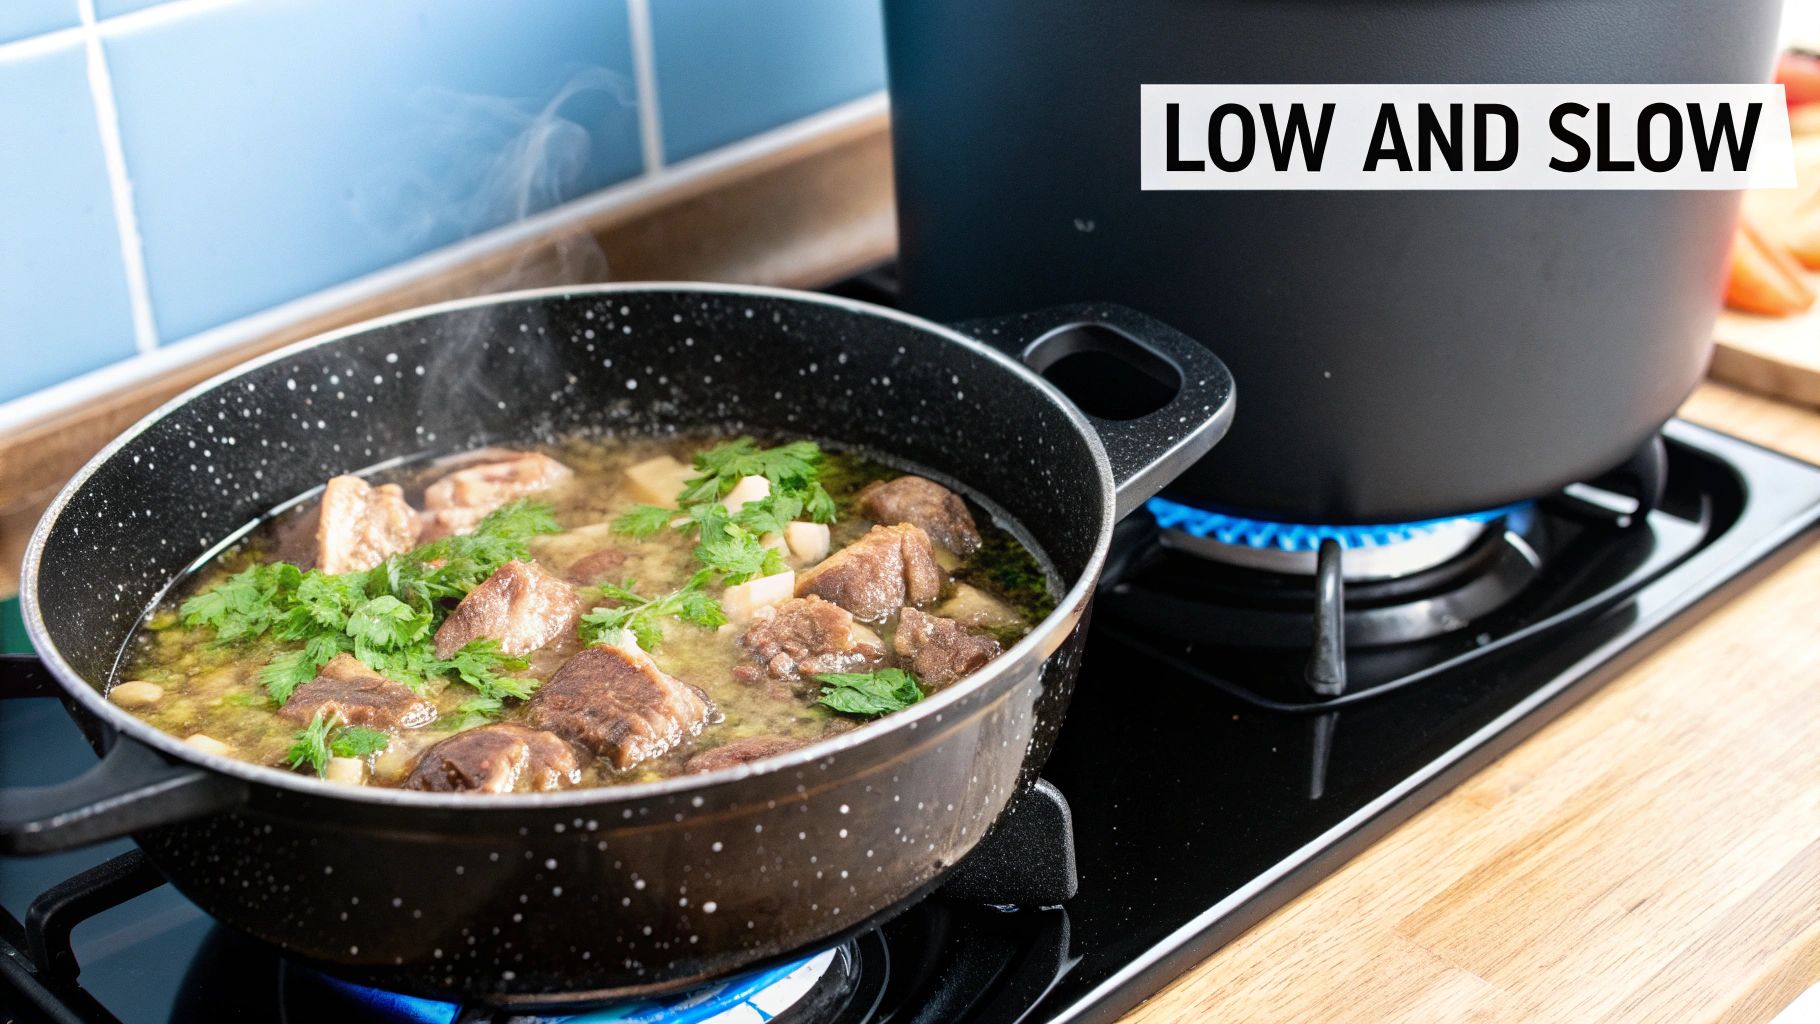
How to Make Meat Tender Every Time
Recent articles


How to Make Meat Tender Every Time
Discover how to make meat tender with our ultimate UK guide. Learn proven mechanical, chemical, and cooking techniques for perfectly...
Read more

Mastering BBQ Pulled Pork Temperature for Juicy, Flavour-Packed Results
Master the ideal BBQ pulled pork temperature for tender, fall-apart results. This guide covers temps, the stall, and techniques for...
Read more

UK Guide to Perfect Beef Ribs on the Smoker
Master beef ribs on the smoker with our UK guide. Learn proven techniques for selecting, seasoning, and smoking tender, flavour-packed...
Read more
How to Make Meat Tender Every Time
Discover how to make meat tender with our ultimate UK guide. Learn proven mechanical, chemical, and cooking techniques for perfectly juicy results.
Mastering BBQ Pulled Pork Temperature for Juicy, Flavour-Packed Results
Master the ideal BBQ pulled pork temperature for tender, fall-apart results. This guide covers temps, the stall, and techniques for perfect pulled pork.
UK Guide to Perfect Beef Ribs on the Smoker
Master beef ribs on the smoker with our UK guide. Learn proven techniques for selecting, seasoning, and smoking tender, flavour-packed beef ribs every time.
