How to Smoke Brisket: A Step-by-Step Guide
Recent articles


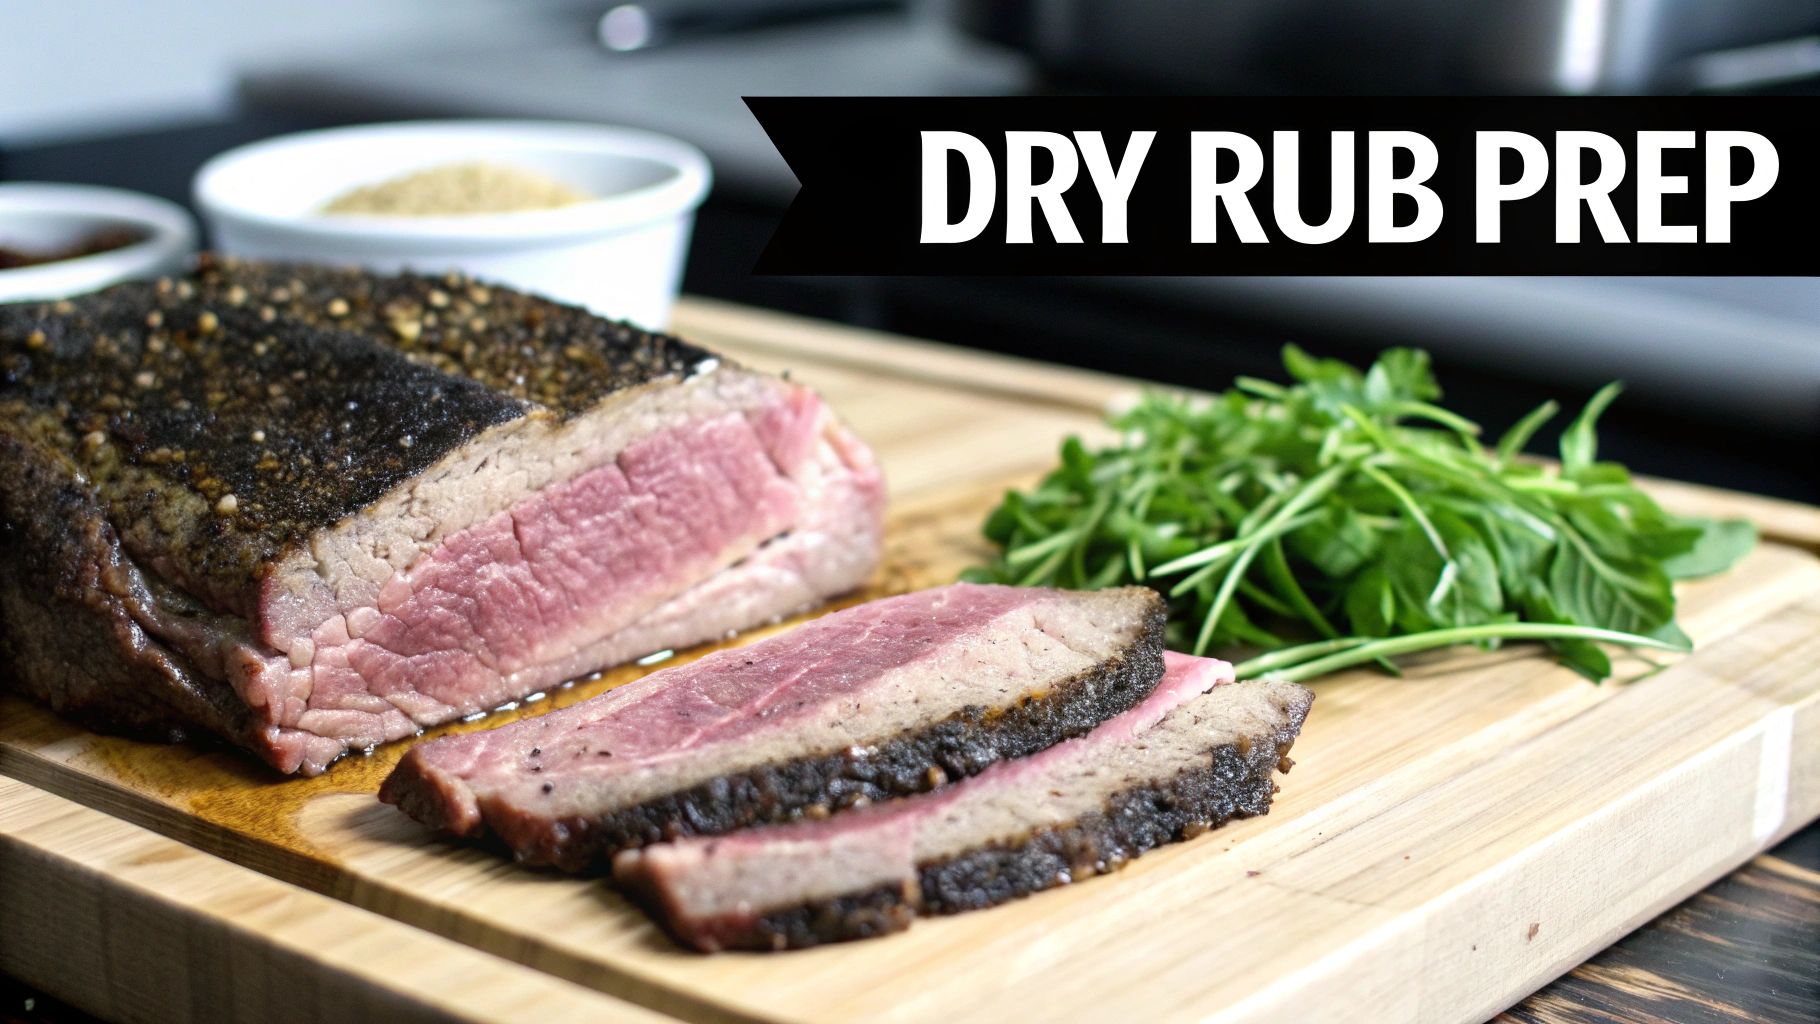
How to Smoke Brisket: A Step-by-Step Guide
Learn how to smoke brisket perfectly every time. Our guide covers selecting, trimming, seasoning, and smoking for tender, juicy results.
Read more

How to Season Chicken Perfectly Every Time
Learn how to season chicken for incredible flavour. Our guide covers dry rubs, marinades, and techniques for BBQ, roasting, and...
Read more

Top BBQ Rubs for Air Fryer Recipes
The air fryer has changed the game for quick, flavour-packed meals, but if you're still relying on salt and ground...
Read more
How to Smoke Brisket: A Step-by-Step Guide
Learn how to smoke brisket perfectly every time. Our guide covers selecting, trimming, seasoning, and smoking for tender, juicy results.
How to Season Chicken Perfectly Every Time
Learn how to season chicken for incredible flavour. Our guide covers dry rubs, marinades, and techniques for BBQ, roasting, and air frying.
Top BBQ Rubs for Air Fryer Recipes
The air fryer has changed the game for quick, flavour-packed meals, but if you're still relying on salt and ground...
