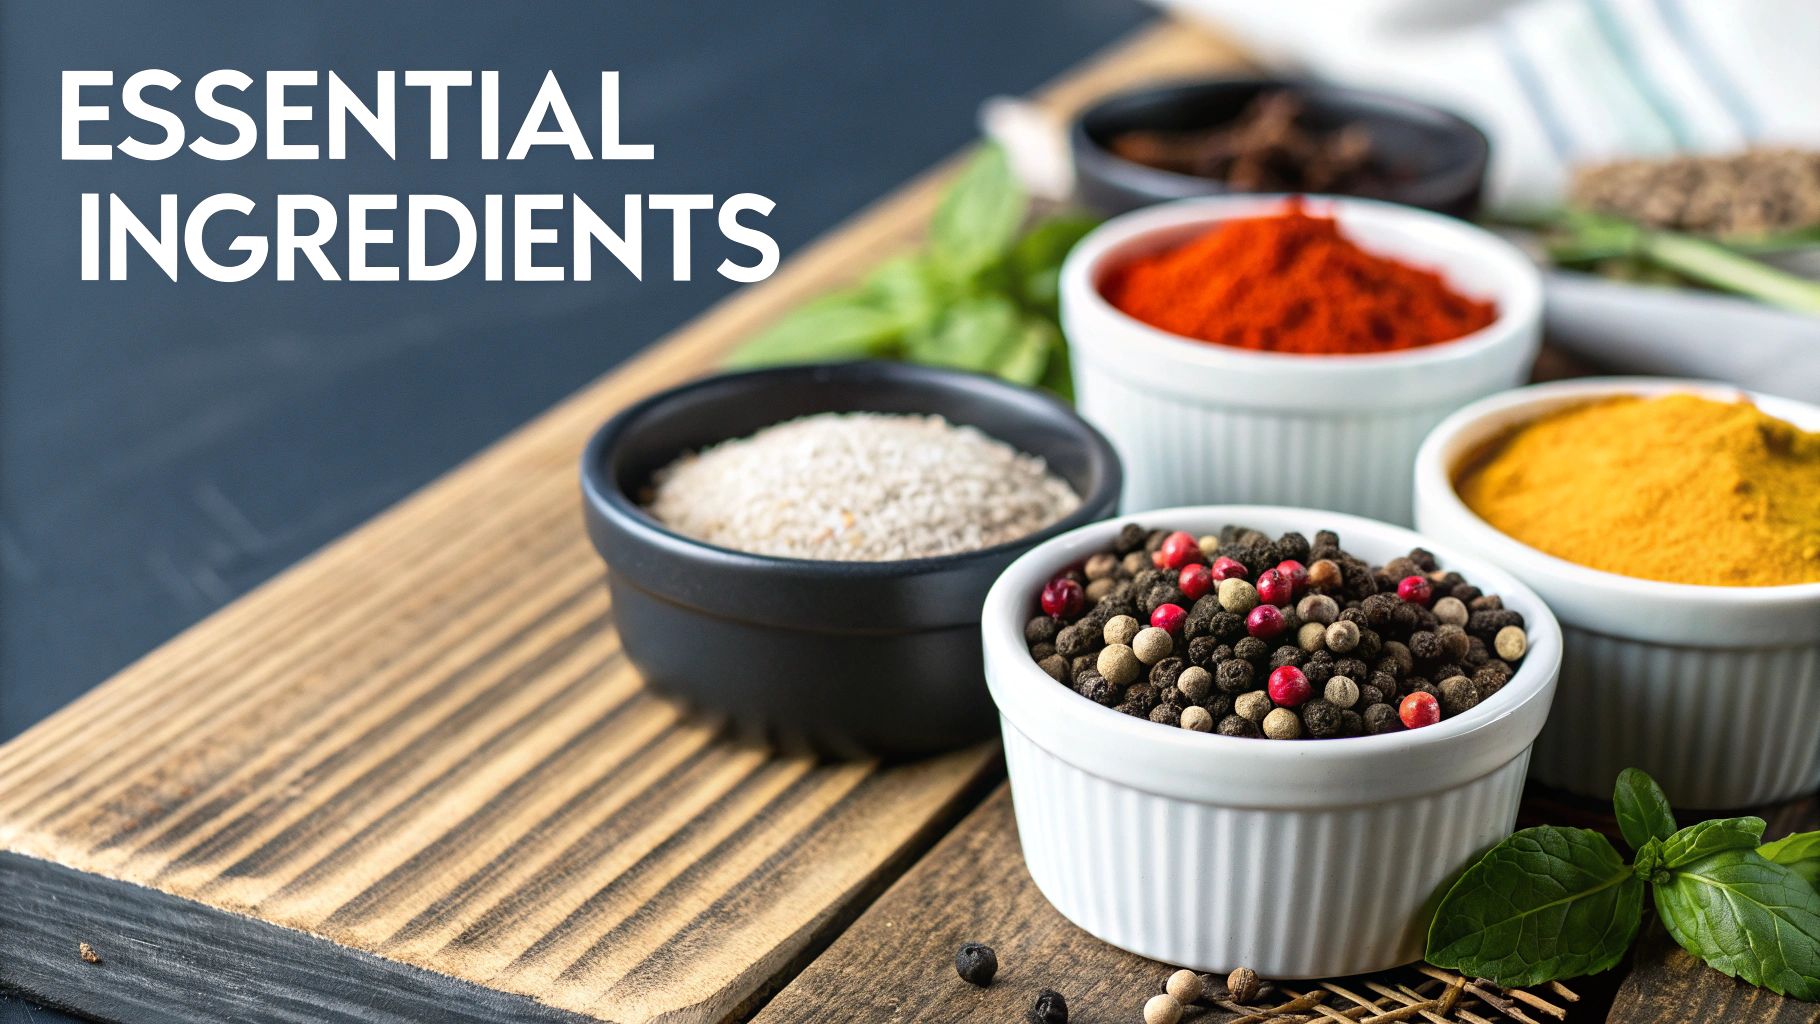
How to Make BBQ Rub: A Step-by-Step Guide to Perfect Flavour
Recent articles


How to Make BBQ Rub: A Step-by-Step Guide to Perfect Flavour
Learn how to make BBQ rub at home with easy tips. Discover flavor ideas and create irresistible seasonings for your...
Read more

The Ultimate Pulled Pork Rub Recipe
Discover the ultimate pulled pork rub recipe for authentic BBQ flavour. Learn how to mix, apply, and adapt your rub...
Read more

A Complete Guide to Seasoning for Chicken
Discover the best seasoning for chicken. This complete guide covers how to choose flavor profiles, apply rubs, and perfectly season...
Read more
How to Make BBQ Rub: A Step-by-Step Guide to Perfect Flavour
Learn how to make BBQ rub at home with easy tips. Discover flavor ideas and create irresistible seasonings for your BBQ. Click for expert guidance!
The Ultimate Pulled Pork Rub Recipe
Discover the ultimate pulled pork rub recipe for authentic BBQ flavour. Learn how to mix, apply, and adapt your rub for perfectly juicy pulled pork every time.
A Complete Guide to Seasoning for Chicken
Discover the best seasoning for chicken. This complete guide covers how to choose flavor profiles, apply rubs, and perfectly season every chicken dish.
