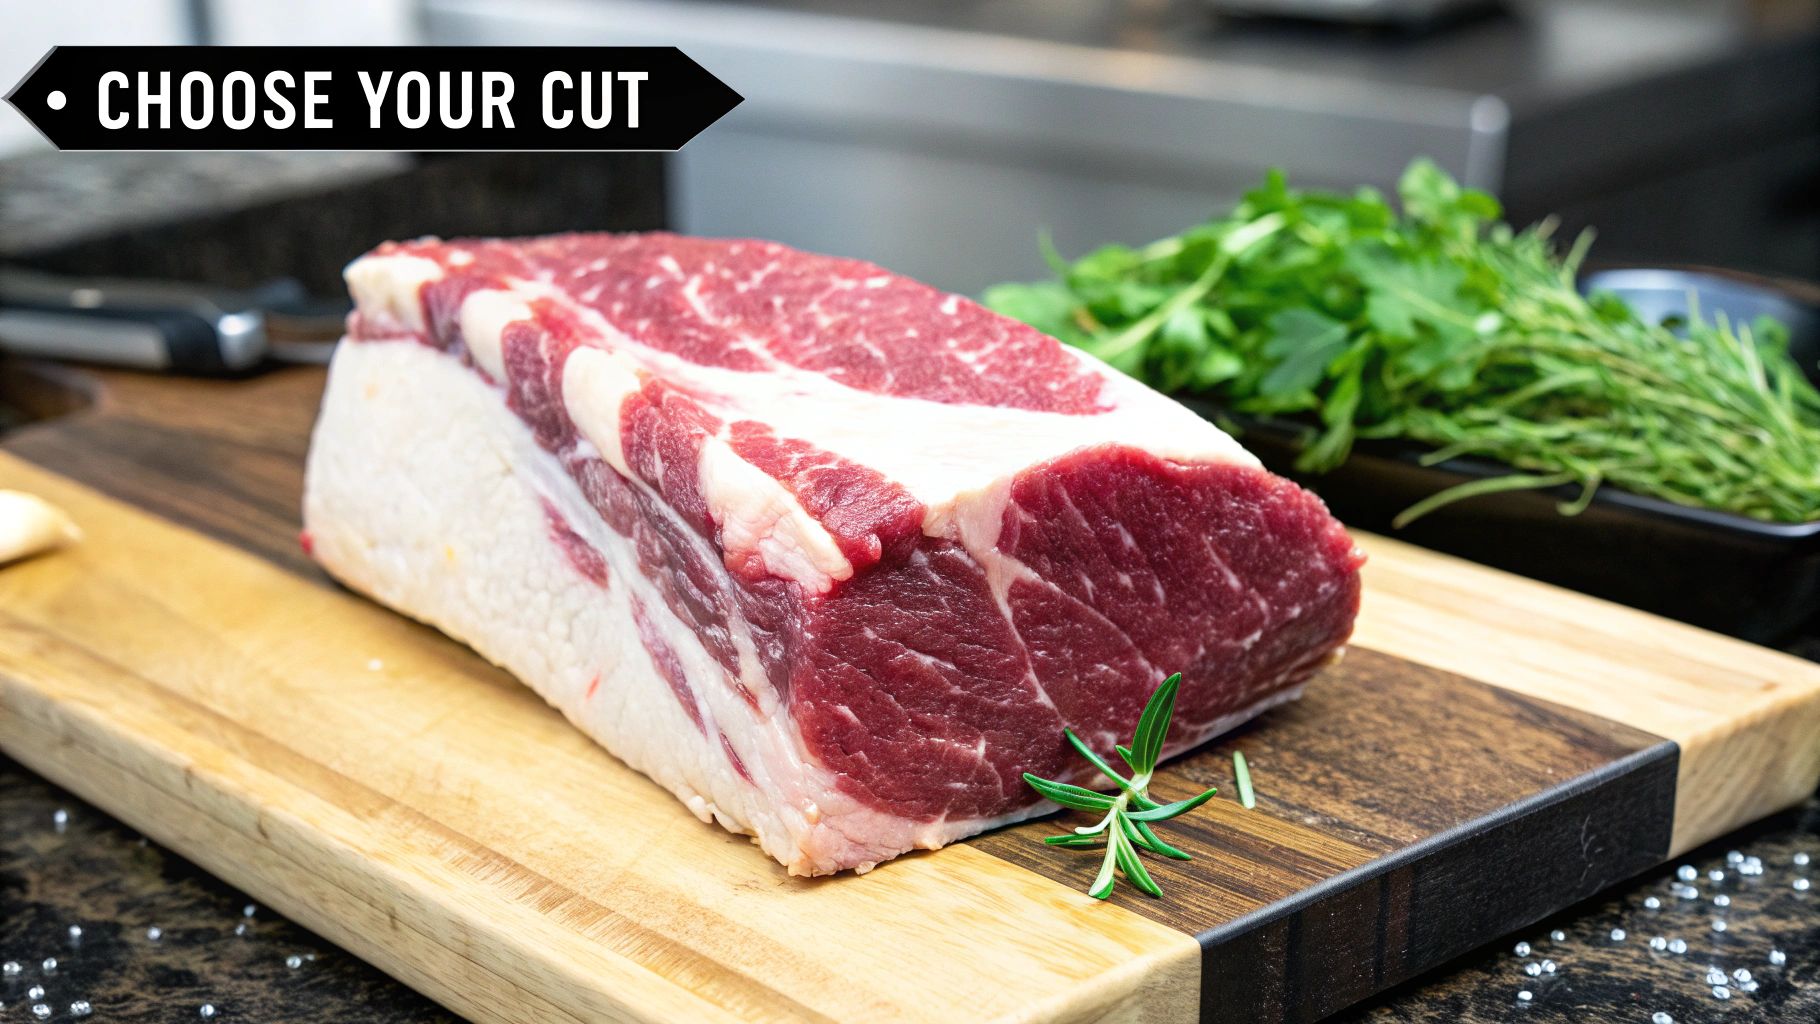
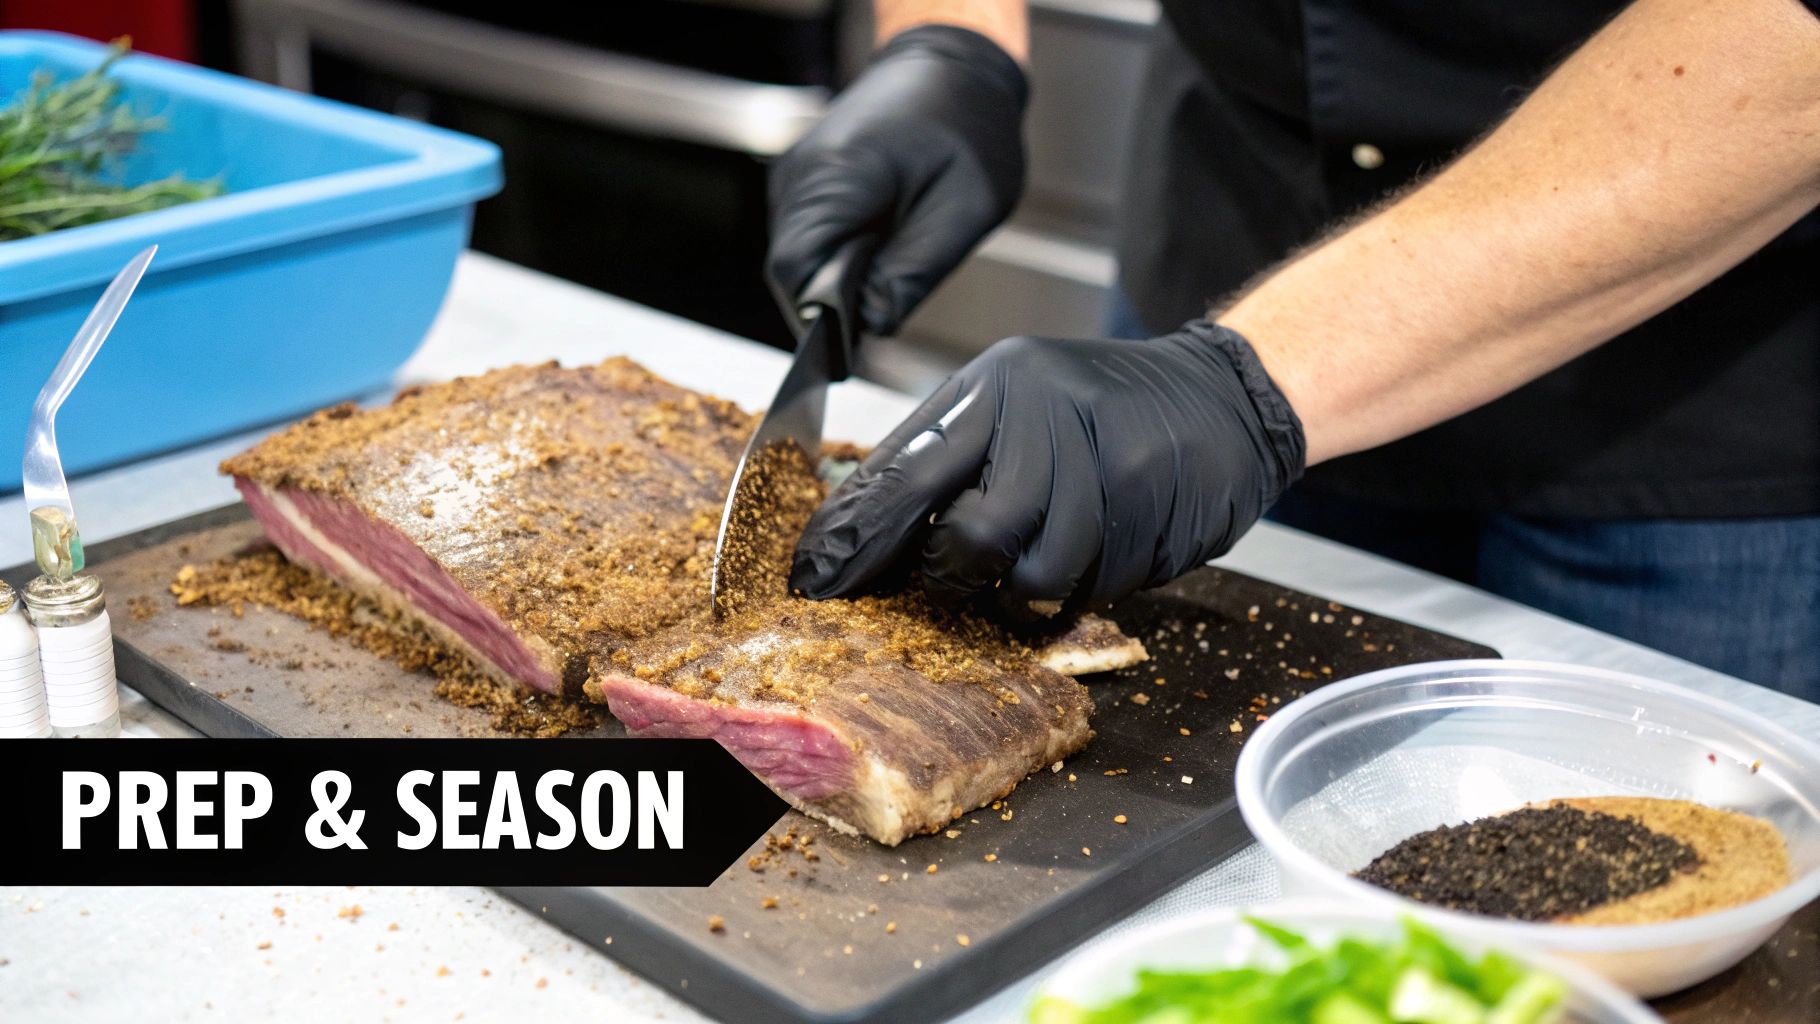
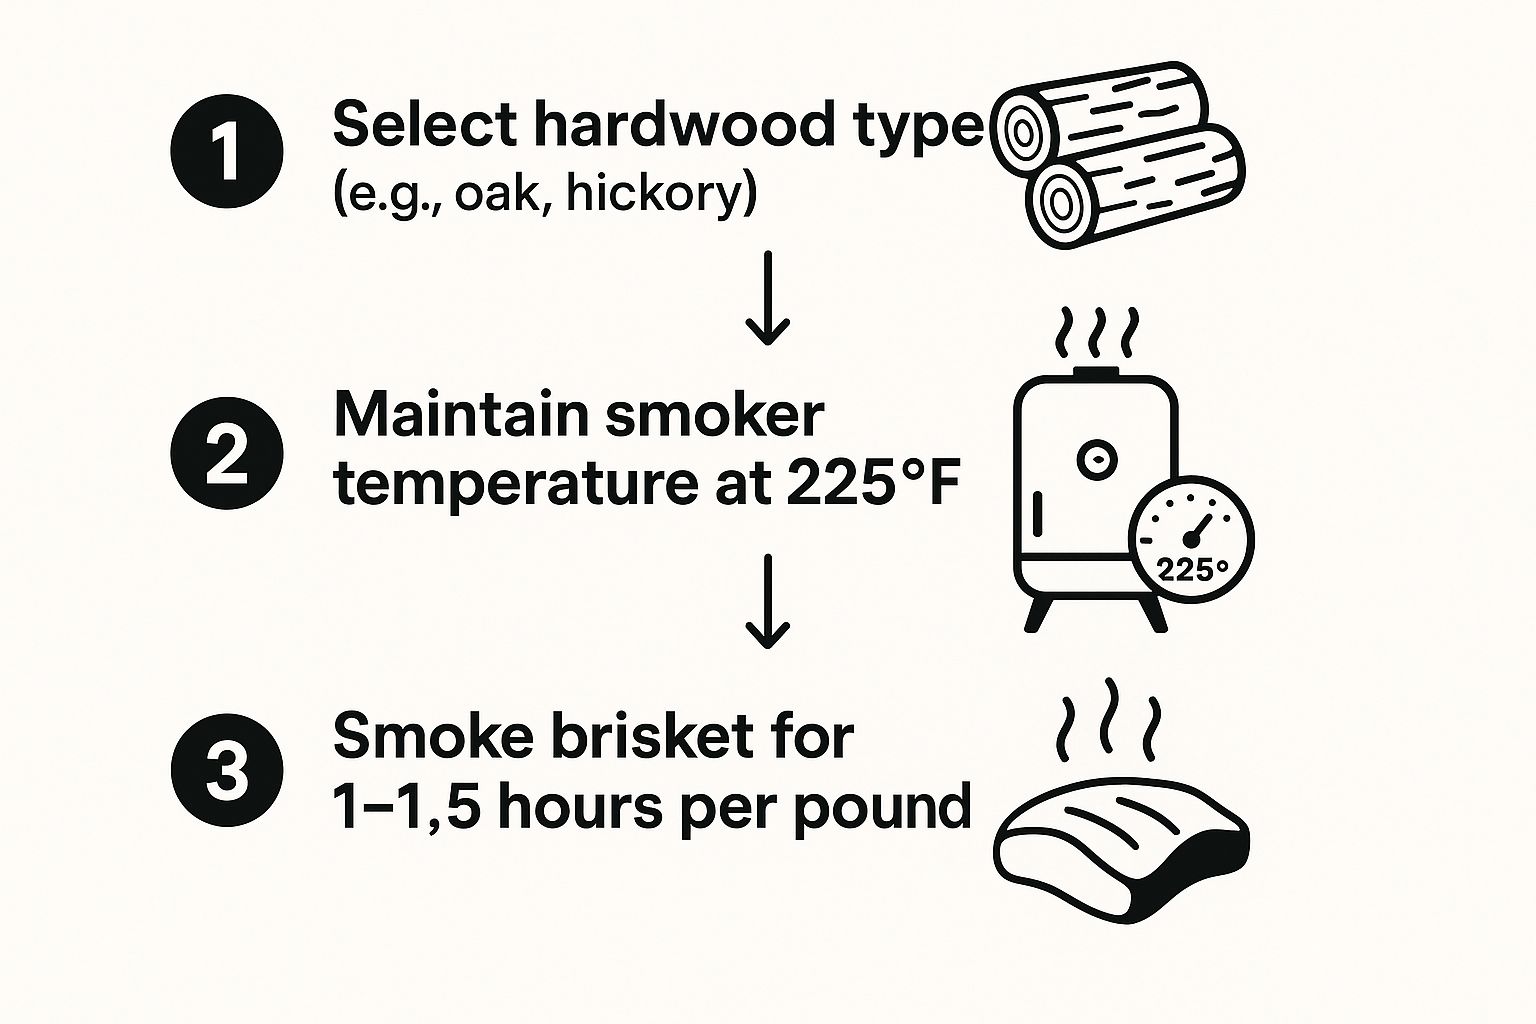
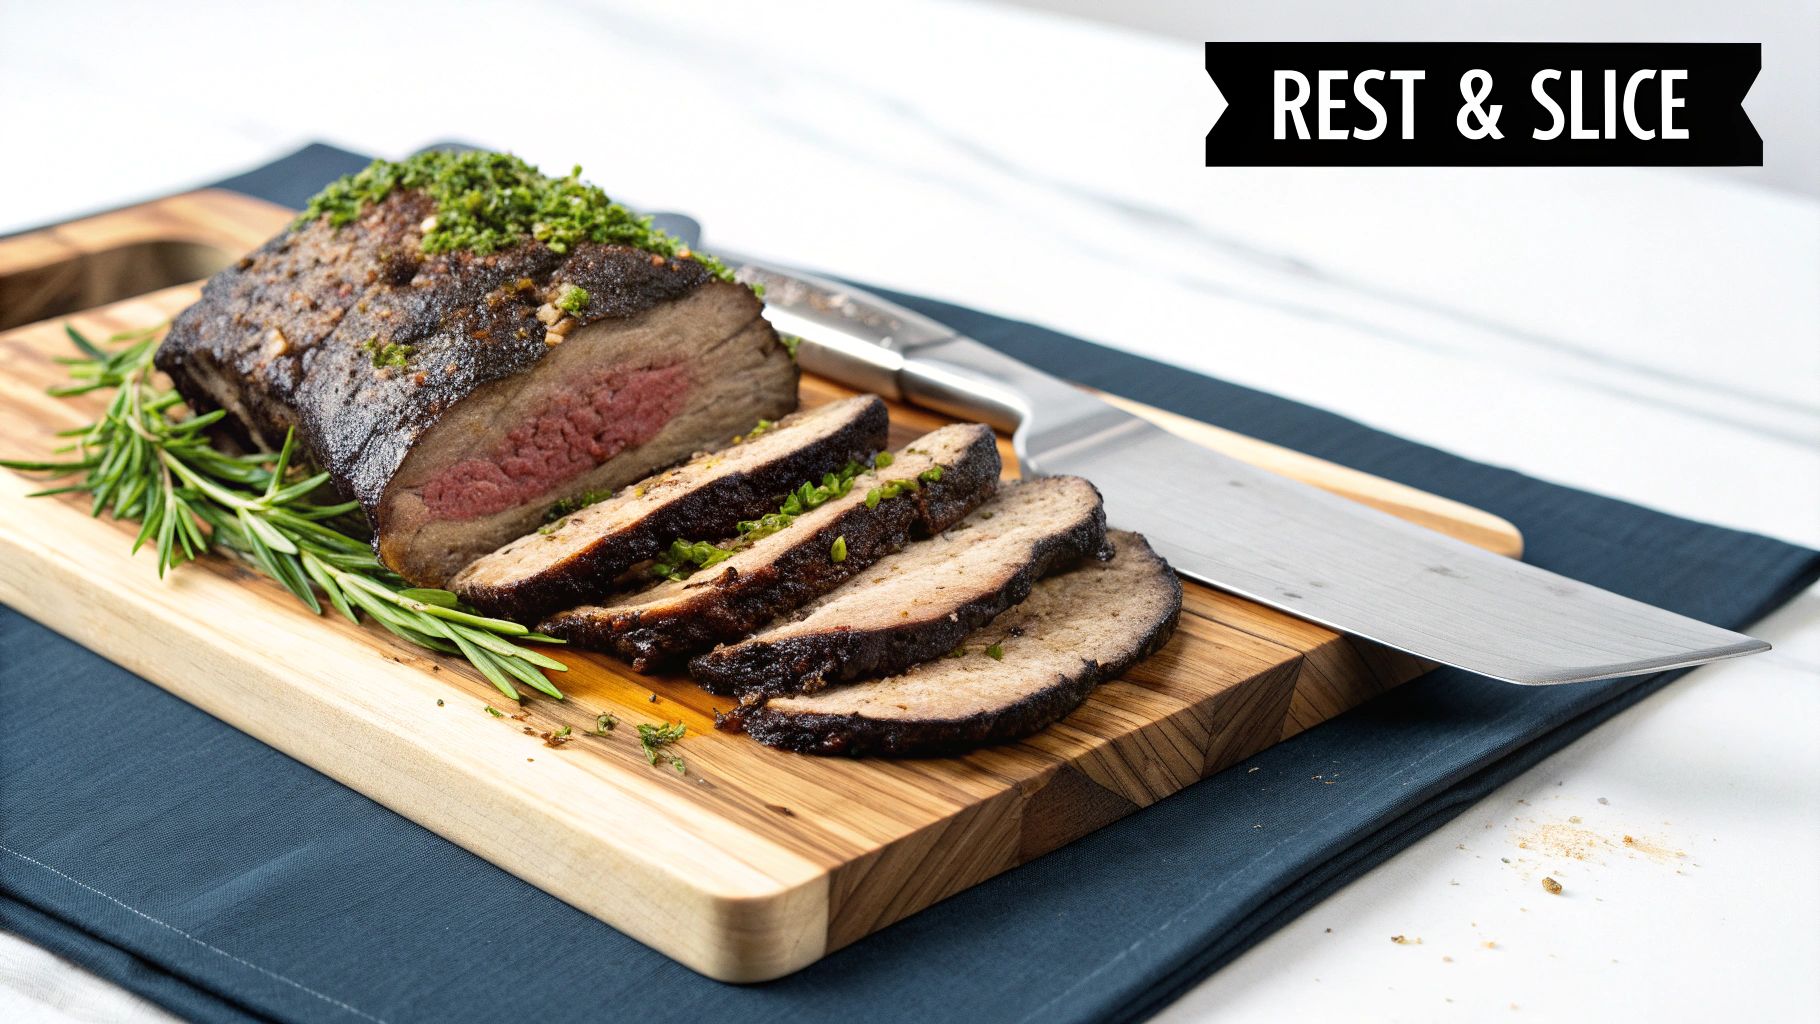
How to Smoke Brisket: A UK Guide to Perfect BBQ
Recent articles


How to Smoke Brisket: A UK Guide to Perfect BBQ
Learn how smoke brisket with our complete UK guide. Get actionable tips on selection, smoking, and slicing for tender, juicy...
Read more

Top Tips for Perfect Spice Rubs for Meat
Master the art of spice rubs for meat! Discover tips to choose, apply, and enhance flavors for mouthwatering results every...
Read more

Best BBQ Seasoning Gift Sets for Every Grill Master
Discover the best BBQ seasoning gift sets for any occasion. Find curated flavour collections perfect for grill lovers and adventurous...
Read more
How to Smoke Brisket: A UK Guide to Perfect BBQ
Learn how smoke brisket with our complete UK guide. Get actionable tips on selection, smoking, and slicing for tender, juicy BBQ results every time.
Top Tips for Perfect Spice Rubs for Meat
Master the art of spice rubs for meat! Discover tips to choose, apply, and enhance flavors for mouthwatering results every time.
Best BBQ Seasoning Gift Sets for Every Grill Master
Discover the best BBQ seasoning gift sets for any occasion. Find curated flavour collections perfect for grill lovers and adventurous home cooks.
